

- API: Authenticate using a token in headers or query parameters. Used for API Key or Access Token integrations.
- OAuth2: Uses the OAuth2 authorization framework to grant limited access without sharing passwords.
- Access Token: Temporary token the app uses to access user resources.
- Scopes: Permissions attached to the token. For example,
read:emailorwrite:files. - Expires: Tokens become invalid after a set period for security.
- Refresh Token: Obtains a new access token when the previous one expires, without re-authentication.
- Bearer: Uses a bearer token in the request header, typically within an OAuth2 flow, to access protected resources.
- Basic Auth: Authenticates using a username and password in the request header. Supported for ServiceNow, Freshdesk, Snowflake, Amplitude, and Mixpanel.
Other authentication methods for certain integrations include Basic, Basic with JWT, OAuth1, and custom authentication defined by the service provider. Some providers support multiple authentication methods.
Access Integrations
-
In AI for Process, click Settings in the top menu.
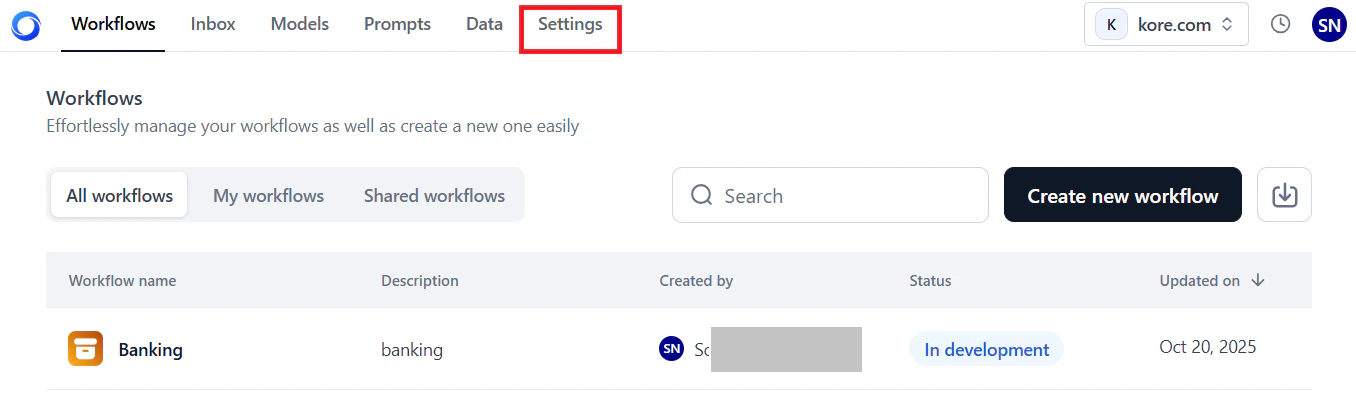
- Click Integrations in the left menu.
Browse Available Integrations
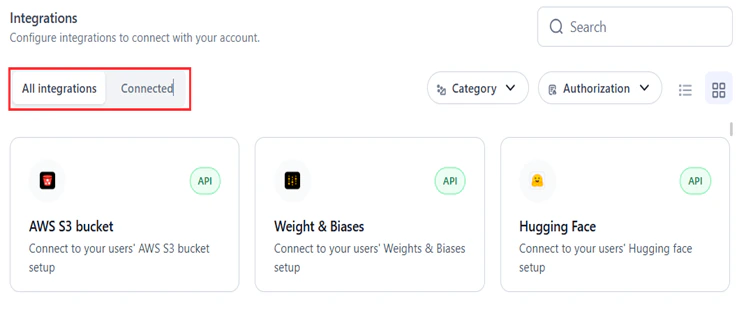
The Integrations page has two tabs:-
All Integrations: Lists available integrations grouped by category. Once you configure a connection, that integration moves to the Connected tab. If you delete the connection, it returns to this list.
-
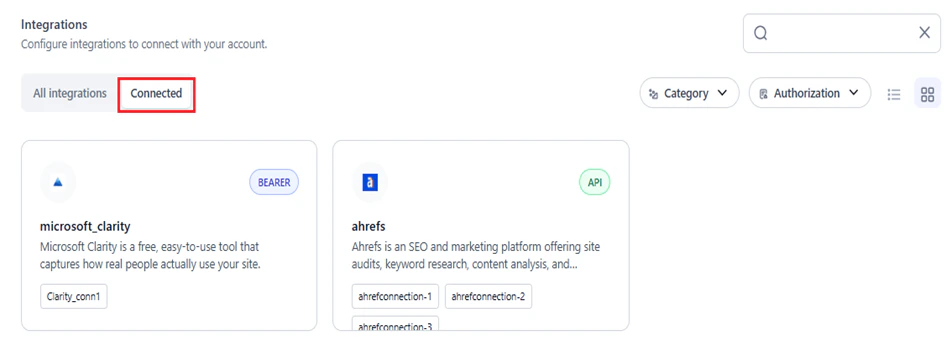
Connected: Lists all configured connections.
-
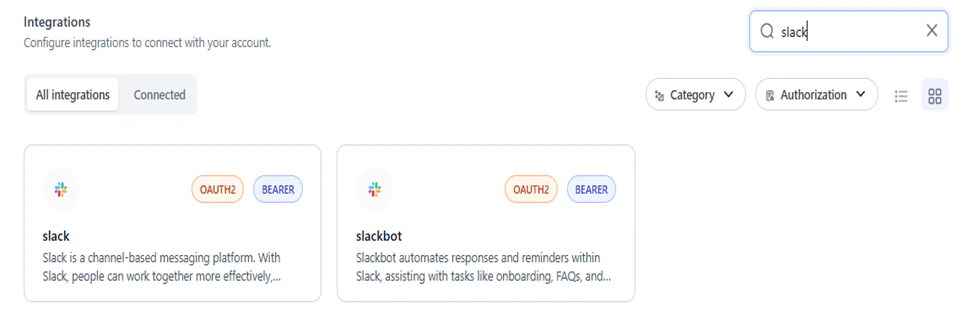
Search: Enter the name (full or partial) in the Search field.
-
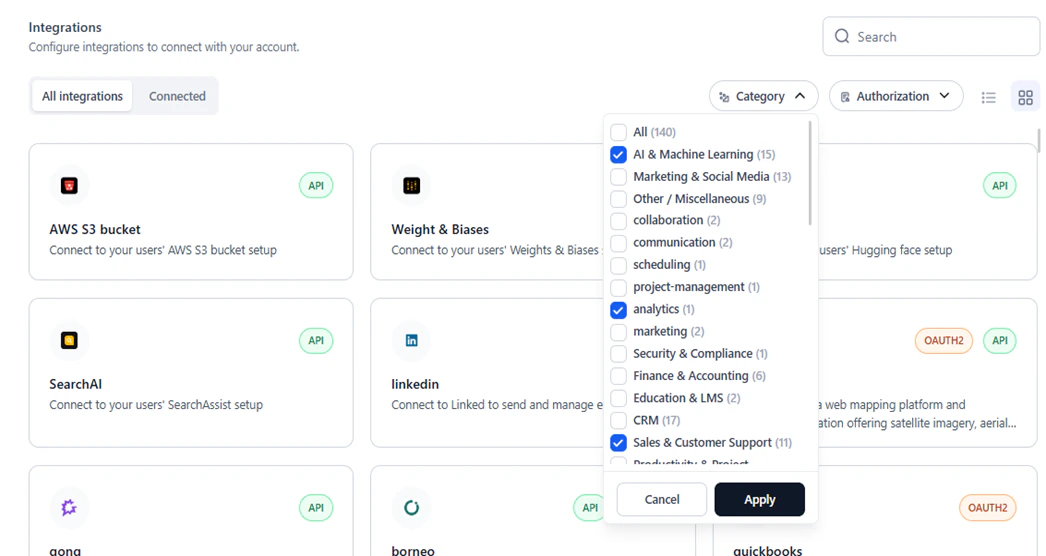
Category: Select one or more categories and click Apply to filter by use case (for example, AI and Machine Learning, Marketing, E-commerce).
-
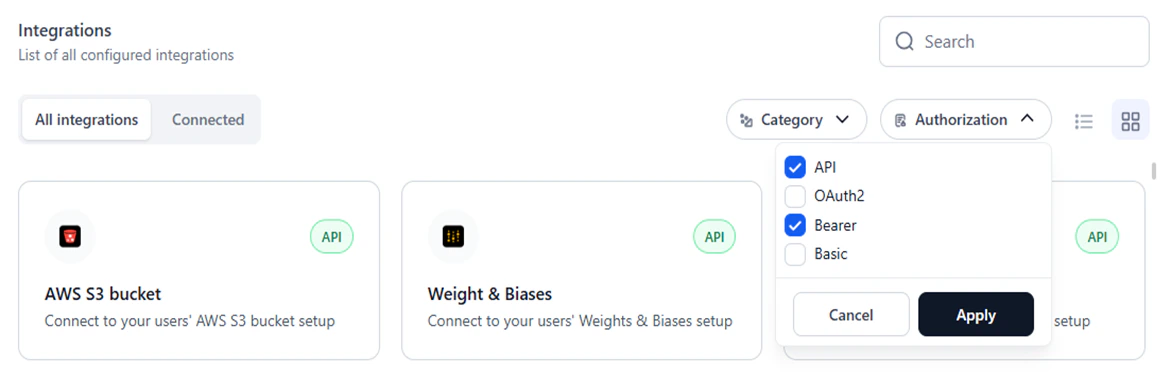
Authorization: Select one or more authorization types and click Apply to filter by auth method.
-
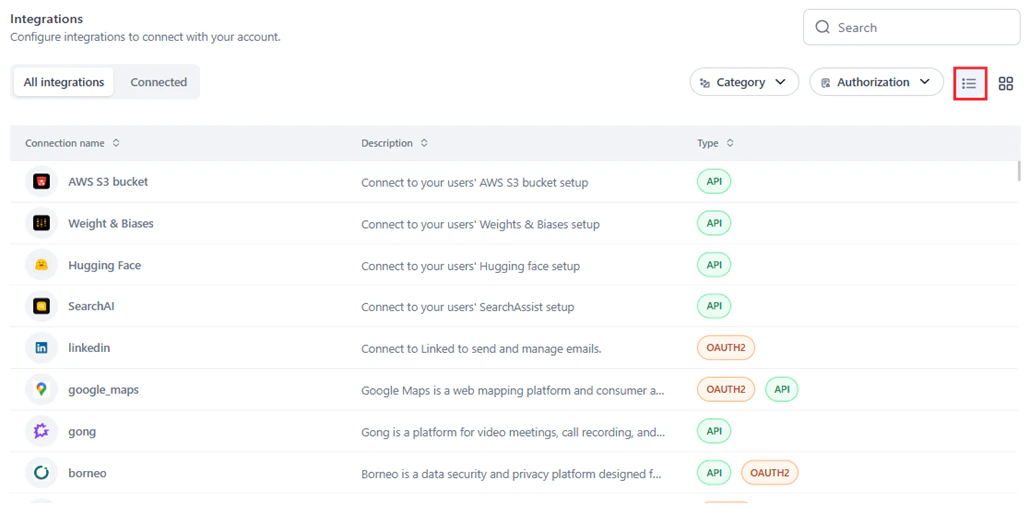
List view: Shows integrations in a table with Connection Name, Description, and Type.
-
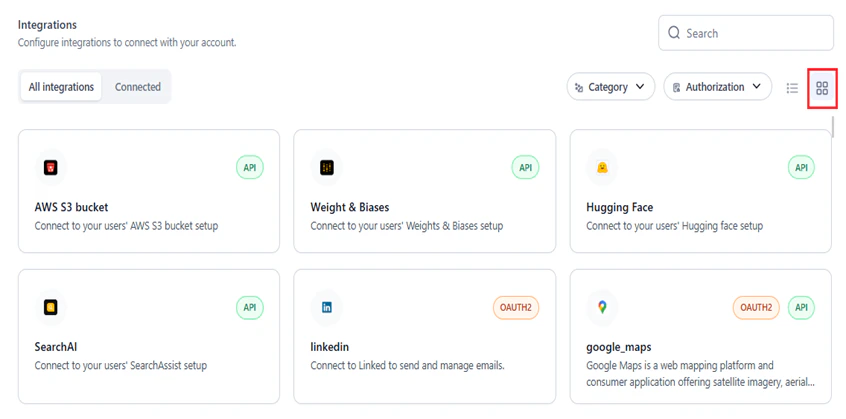
Tile view (default): Shows integrations as cards.
Supported Integrations
Add a Connection
You can also add a connection directly from the Integration node on the workflow canvas. Learn more.
- Access Integrations.
-
Select an integration:
- New connection: In the All Integrations tab, optionally filter by Category and Authorization, then click the required integration.
- Existing provider: Click the Connected tab and select the provider.
-
Click Add Connection.
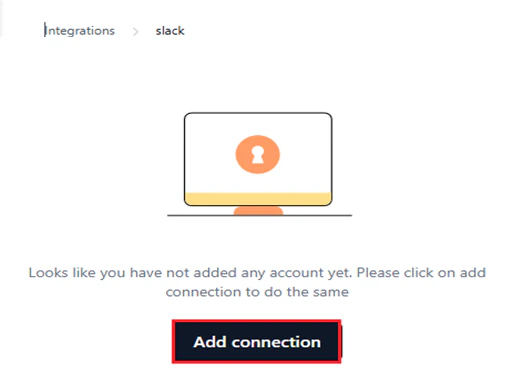
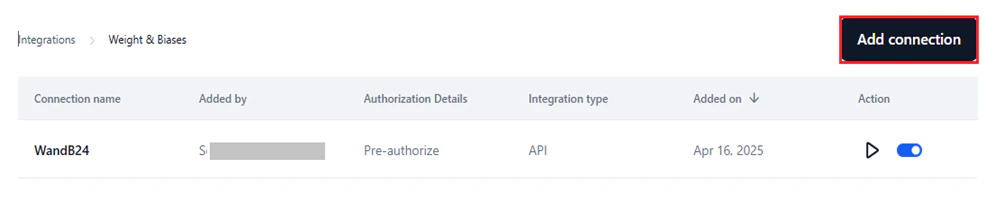
-
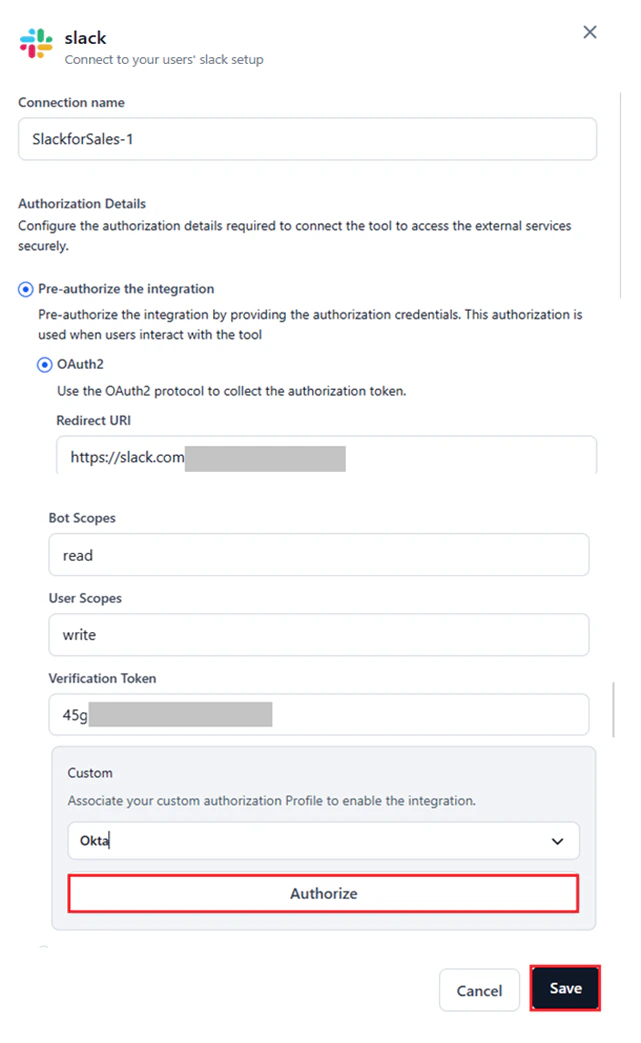
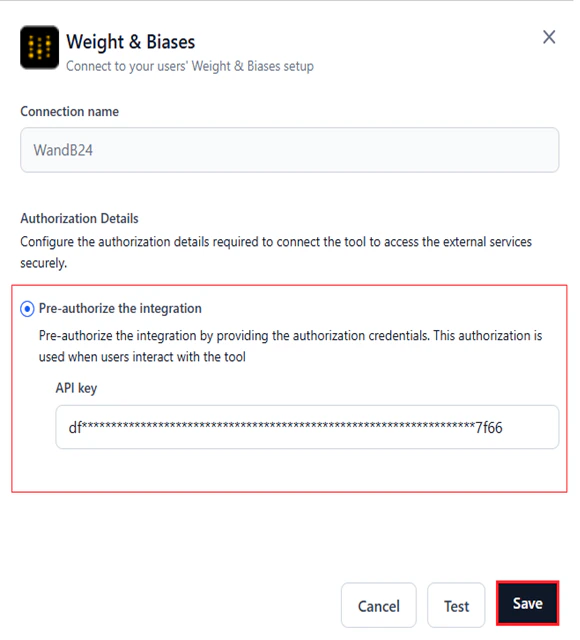
In the configuration window, enter a Connection Name and configure the Authorization Details. Select the authentication type for the connection. Only one auth type is allowed per connection.
The Pre-authorize the integration option is selected by default, requiring authentication credentials to interact with the service.
Configure the authorization details based on the selected type:
OAuth2
- Select the configured Auth Profile under Custom to authenticate the integration. Learn more about adding auth profiles.
- Custom auth uses a tailored authentication process set up in AI for Process, as an alternative to standard flows like API or OAuth2.
- After selecting an auth profile, its credentials populate the corresponding fields such as Redirect URL, Scopes, and Base URL.
- Re-authentication is not required unless the auth profile is deleted from your account.
- Connecting to a provider with a deleted auth profile results in an error. Deleted auth profiles no longer appear in the Custom window.
-
Click Authorize to test the integration for the selected auth profile.
Bearer Token
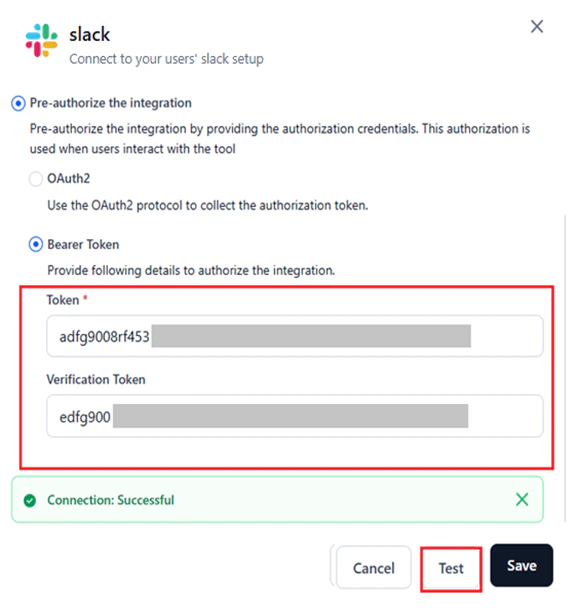
- Enter the bearer token and any related credentials such as Base URL, API Key, or Bot Token. Required fields depend on the bearer authentication framework of the selected provider.
- Retrieve these values from the provider’s Admin console > Settings.
-
Click Test to validate the connection.
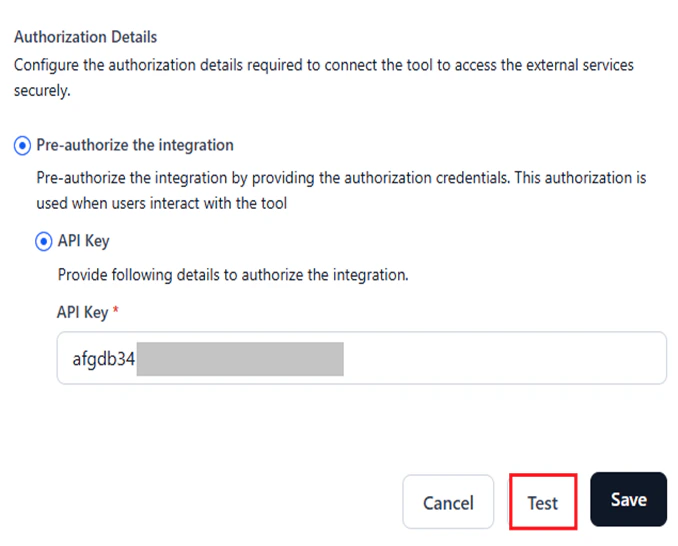
API
- Enter the API Key or Access Token. Additional fields may be required based on the provider.
- Retrieve these values from the provider’s Admin console > Settings.
-
Click Test to validate the connection.
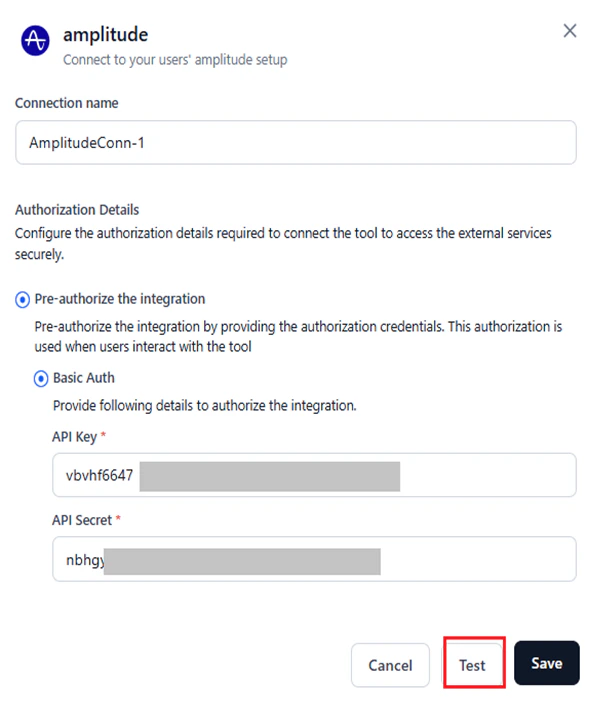
Basic Auth
- Enter the required credentials. For example, Amplitude requires an API key and API secret.
- Retrieve these values from the provider’s Admin console > Settings.
-
Click Test to validate the connection.
For other authentication types such as OAuth1, retrieve the required values from the admin console of your provider’s site. -
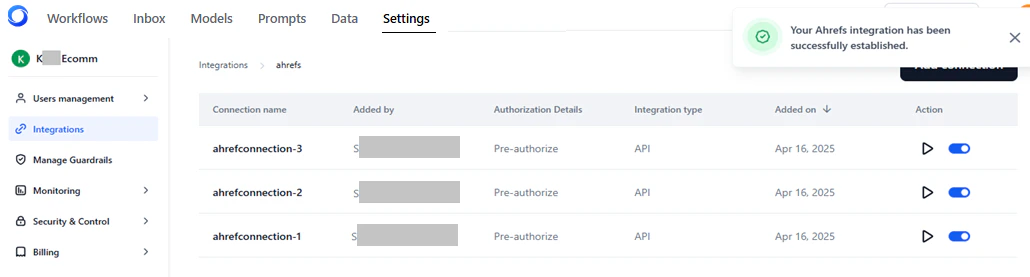
Click Save after testing the connection successfully.
The Save button is available only after you provide all the required inputs.
Manage Connections
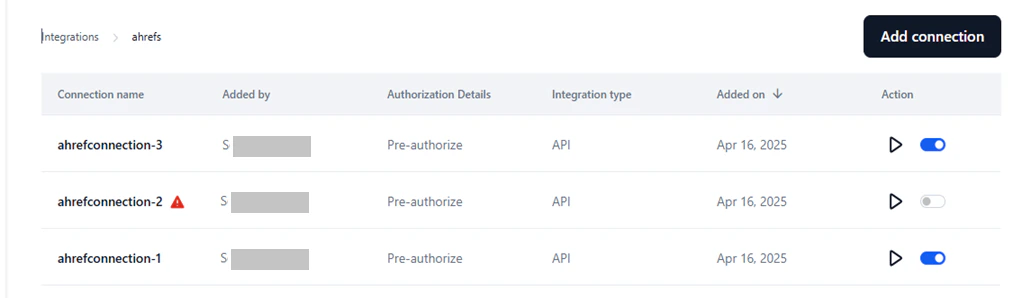
In the Connected tab, you can view, edit, test, and manage all configured connections for a provider.- Connection Name: The unique name set during configuration.
- Added By: The admin or user who added the connection.
- Authorization Details: Displays Pre-authorize.
- Integration Type: API, OAuth2, Bearer, Basic Auth, etc.
- Added on: The date the connection was added.
- Action: Test the connection or enable/disable it.
Edit a Connection
You can’t modify the name of a connection. To edit the other details, follow these steps:- Access Integrations → Connected → Select the connection.
- Click the Ellipses icon → Edit.
- Modify the required fields in the Authorization Details section.
- (Optional) Click Test to validate.
-
Click Save.
Delete a Connection
- Access Integrations → Connected → Select the connection.
- Click the Ellipses icon → Delete.
- Click Delete to confirm.
Test a Connection
- Access Integrations → Connected → Select the connection.
-
Click the Play icon.


Enable or Disable a Connection
Enabling a connection makes it available for user authentication with the provider and for use in the Integration node on the workflow canvas. Use the toggle to enable (default) or disable the connection as needed.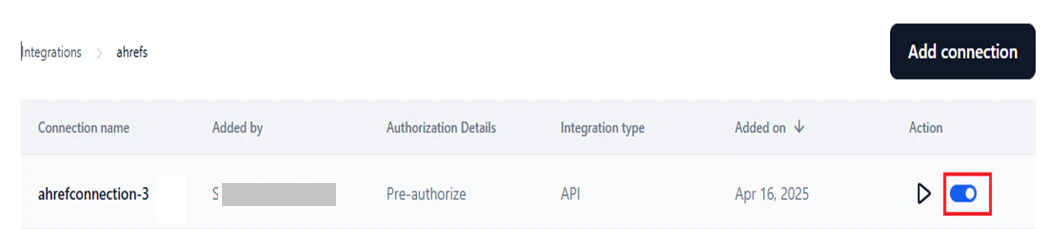
Resolve Connection Errors
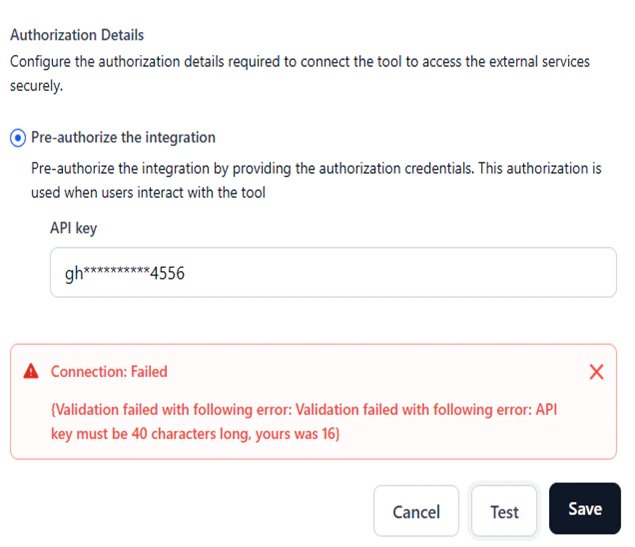
Errors may occur due to invalid credentials when adding or using a connection. To view the error:- In the Connected tab, select the connection.
- Click Play to test the connection.
-
Hover over the warning icon to see the reason for the error. Alternatively, click Edit, open the configuration window, and click Test.
Integrate with Weights and Biases
Connecting to Weights and Biases (WandB) links AI for Process to your WandB account so that fine-tuning data is sent to the WandB console for additional analytics.- In AI for Process, click Settings in the top menu.
- Click Integrations in the left menu.
-
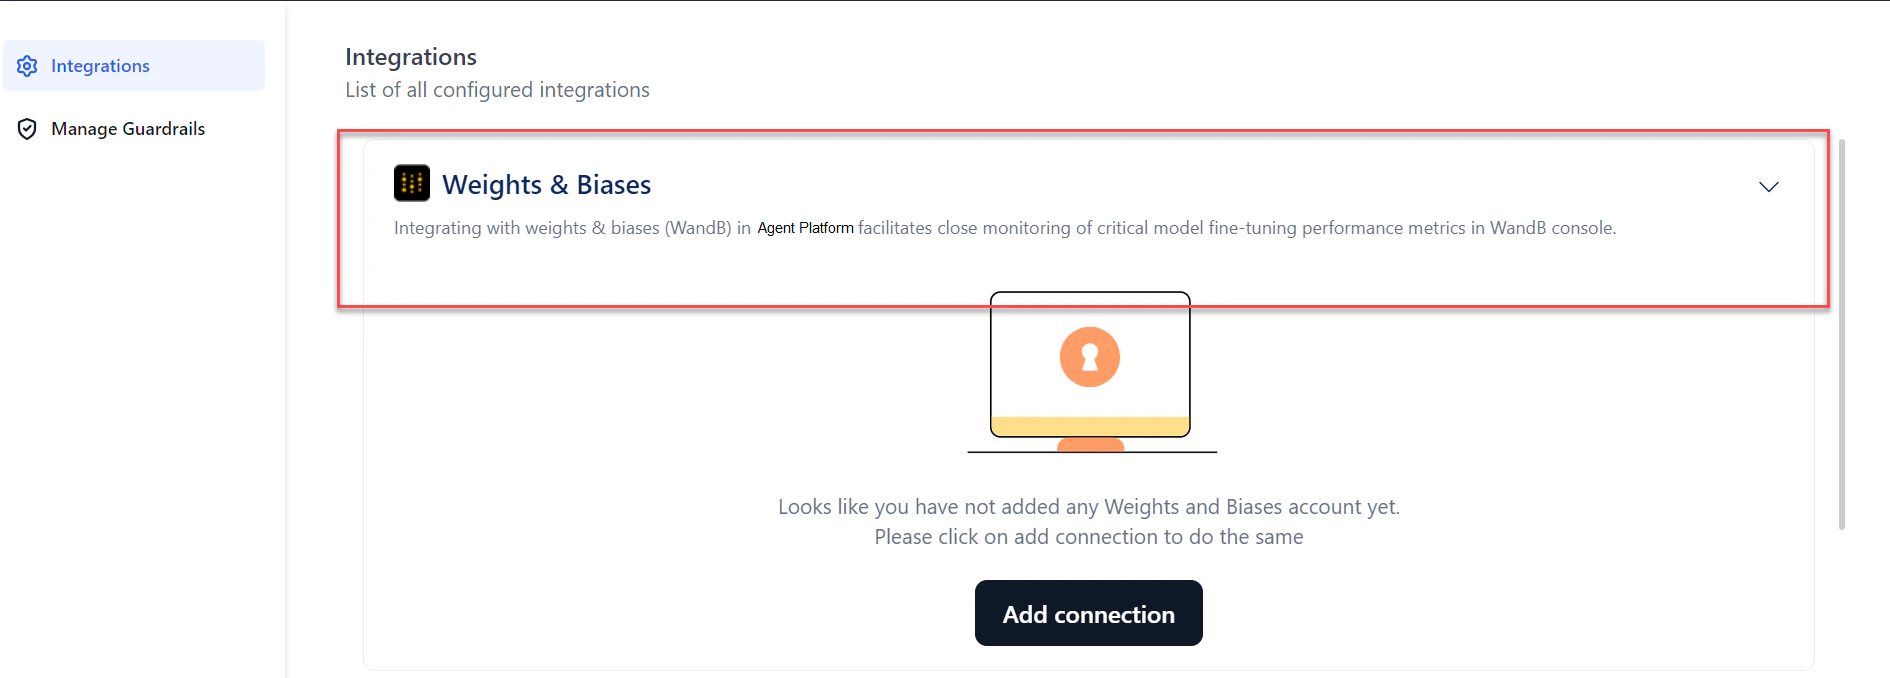
Click Weights & Biases from the integrations list. The section expands.
-
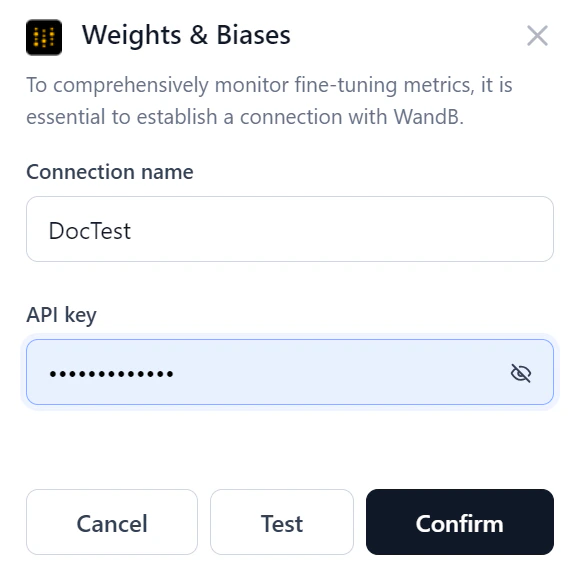
Click Add connection. The Weights & Biases dialog opens.
-
Enter the following details:
- Connection name: A unique name for the connection.
- API key: The unique identifier for your WandB account.
-
Click Test to verify the connection.
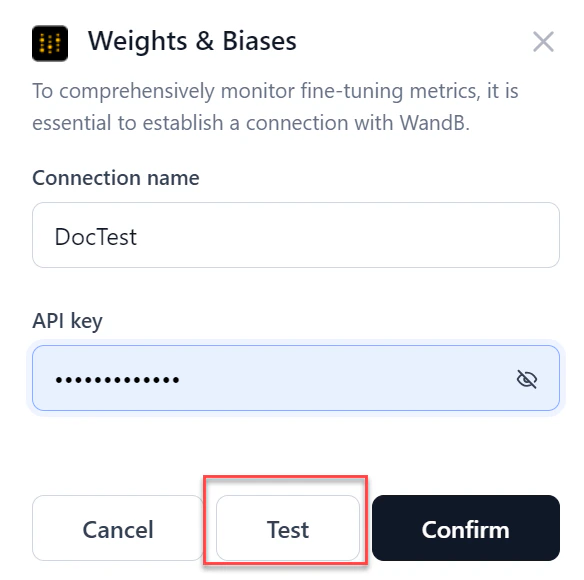
- If the connection succeeds, click Confirm to complete the setup.
- If the connection fails, verify the credentials or cancel the setup.
-
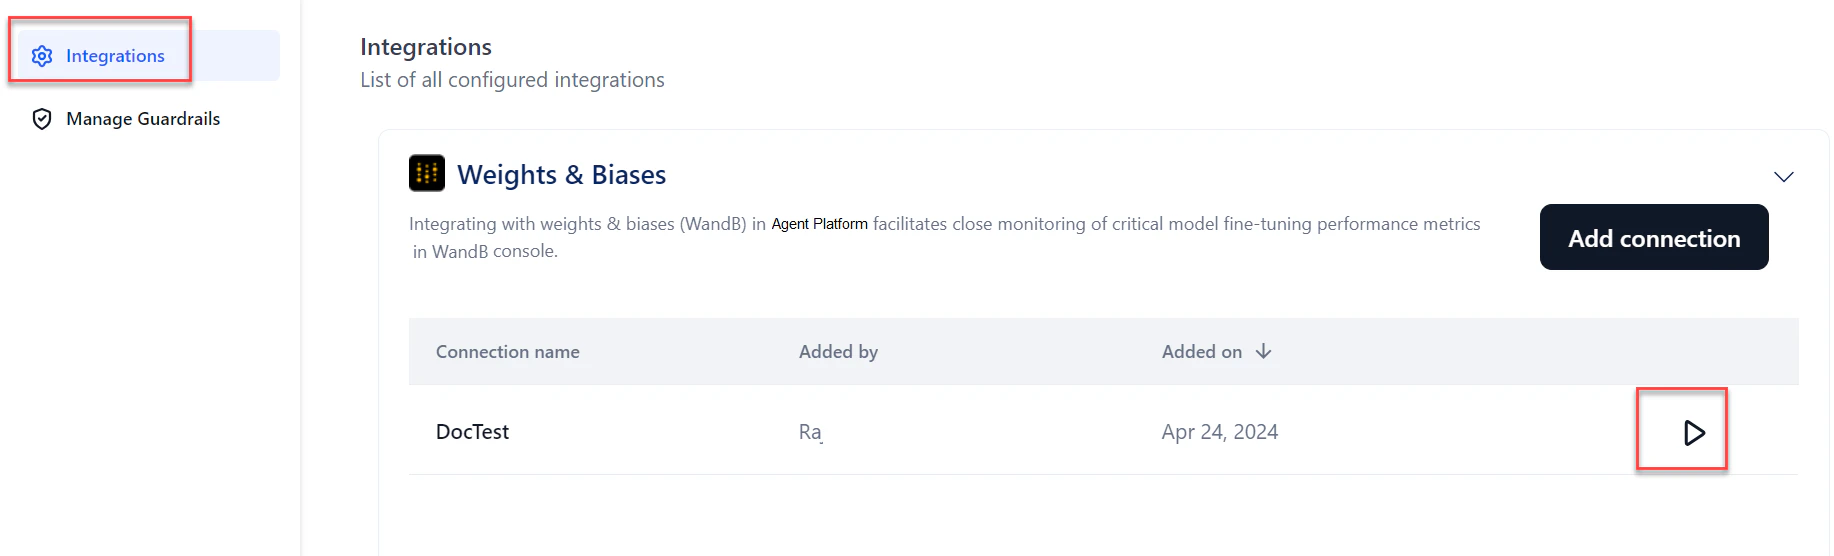
From the connections list, click the Play button to re-test the connection at any time.
-
To edit or delete the connection, hover over the connection name and click the three dots icon.
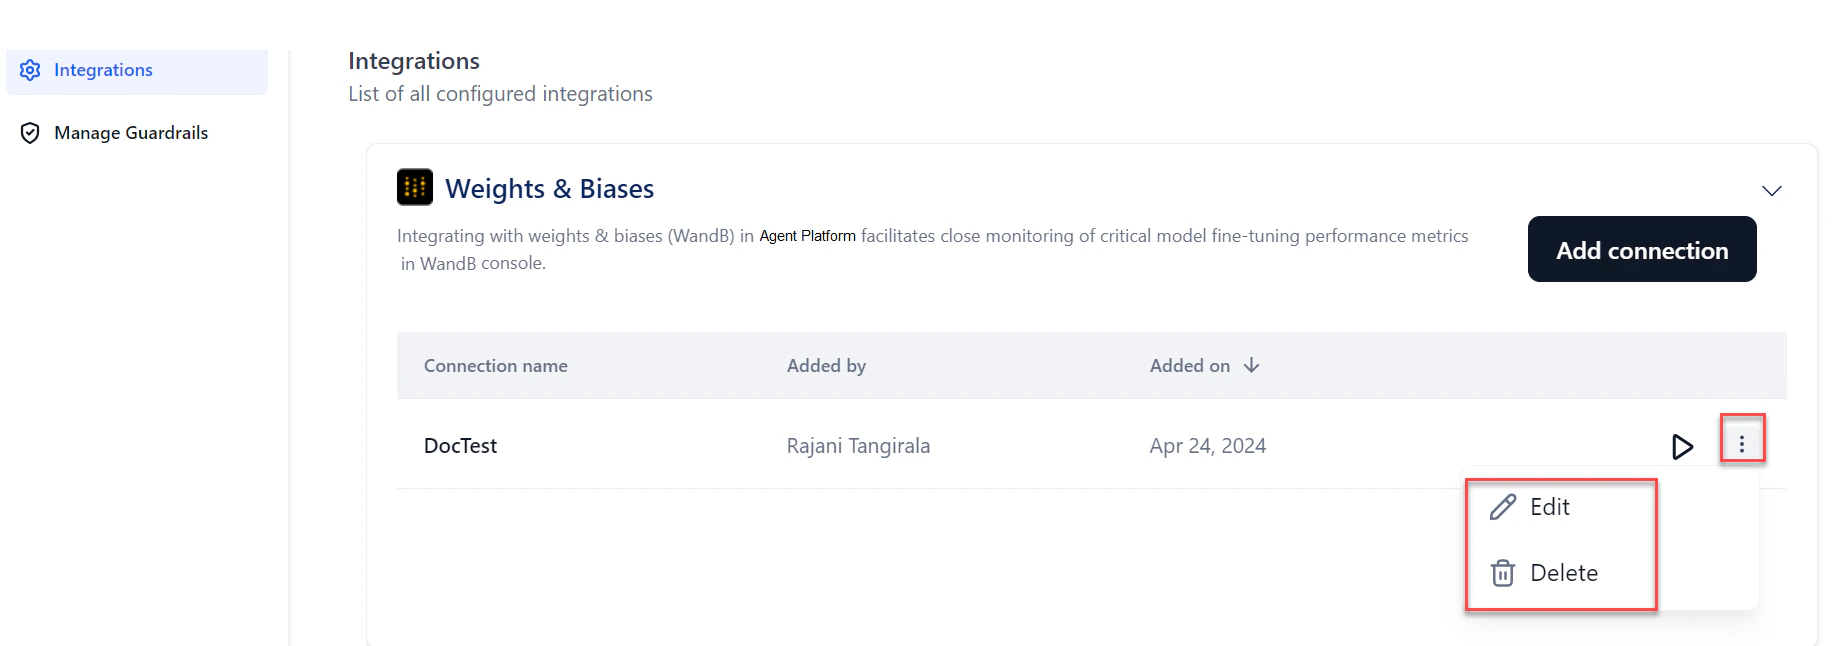
Once the WandB connection is set up, the connection name appears in the Weights and Biases section of the Create a Fine-Tuned Model wizard.
Integrate with Hugging Face
Connecting to Hugging Face lets you use publicly available text generation and text-to-text generation models directly in AI for Process. For private or exclusive models, provide your Hugging Face access token to authenticate.- In AI for Process, click Settings in the top menu.
- Click Integrations in the left menu.
-
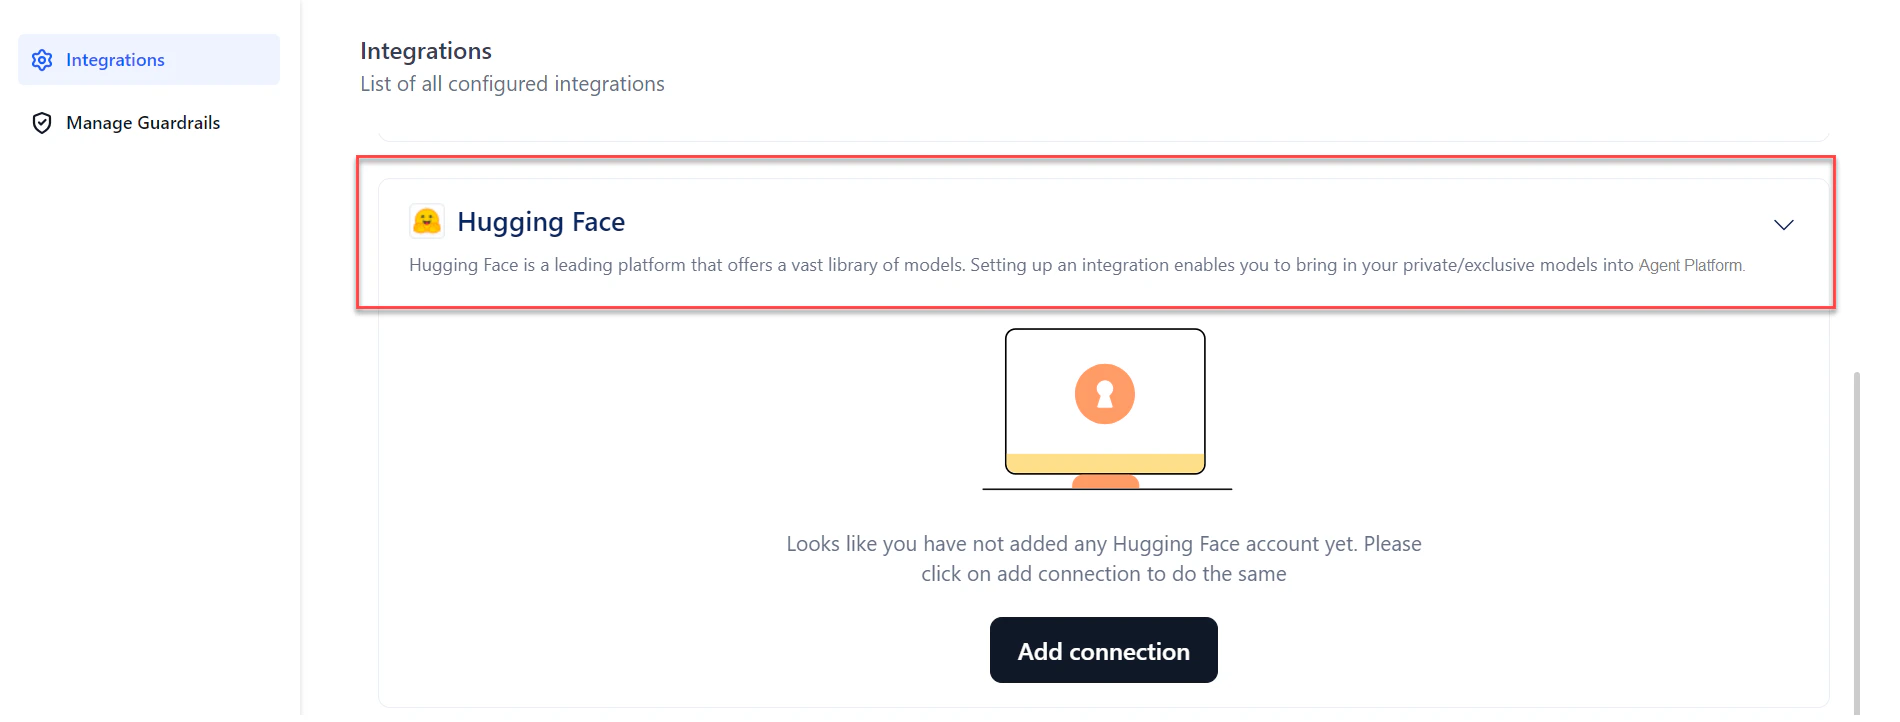
Click Hugging Face from the integrations list. The section expands.
-
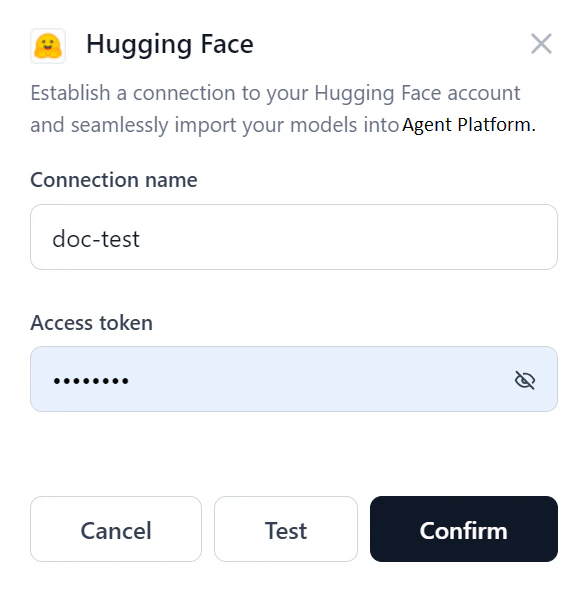
Click Add connection. The Hugging Face dialog opens.
-
Enter the following details:
- Connection name: A unique name for the connection.
- Access token: The unique identifier for your Hugging Face account.
-
Click Test to verify the connection.
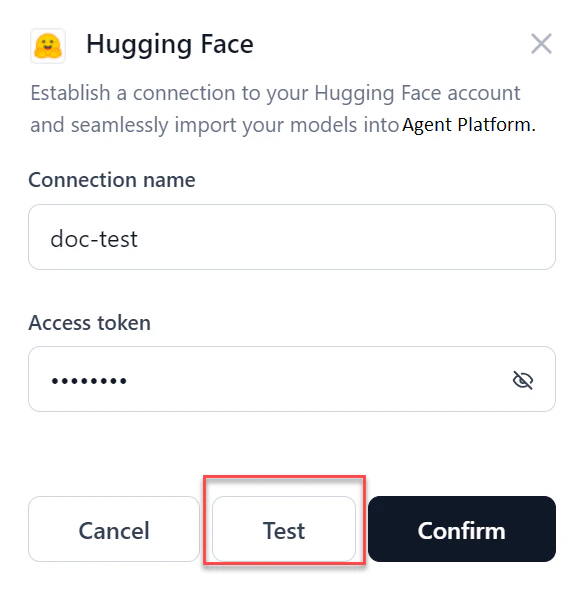
- If the connection succeeds, click Confirm to complete the setup.
- If the connection fails, verify the credentials or cancel the setup.
-
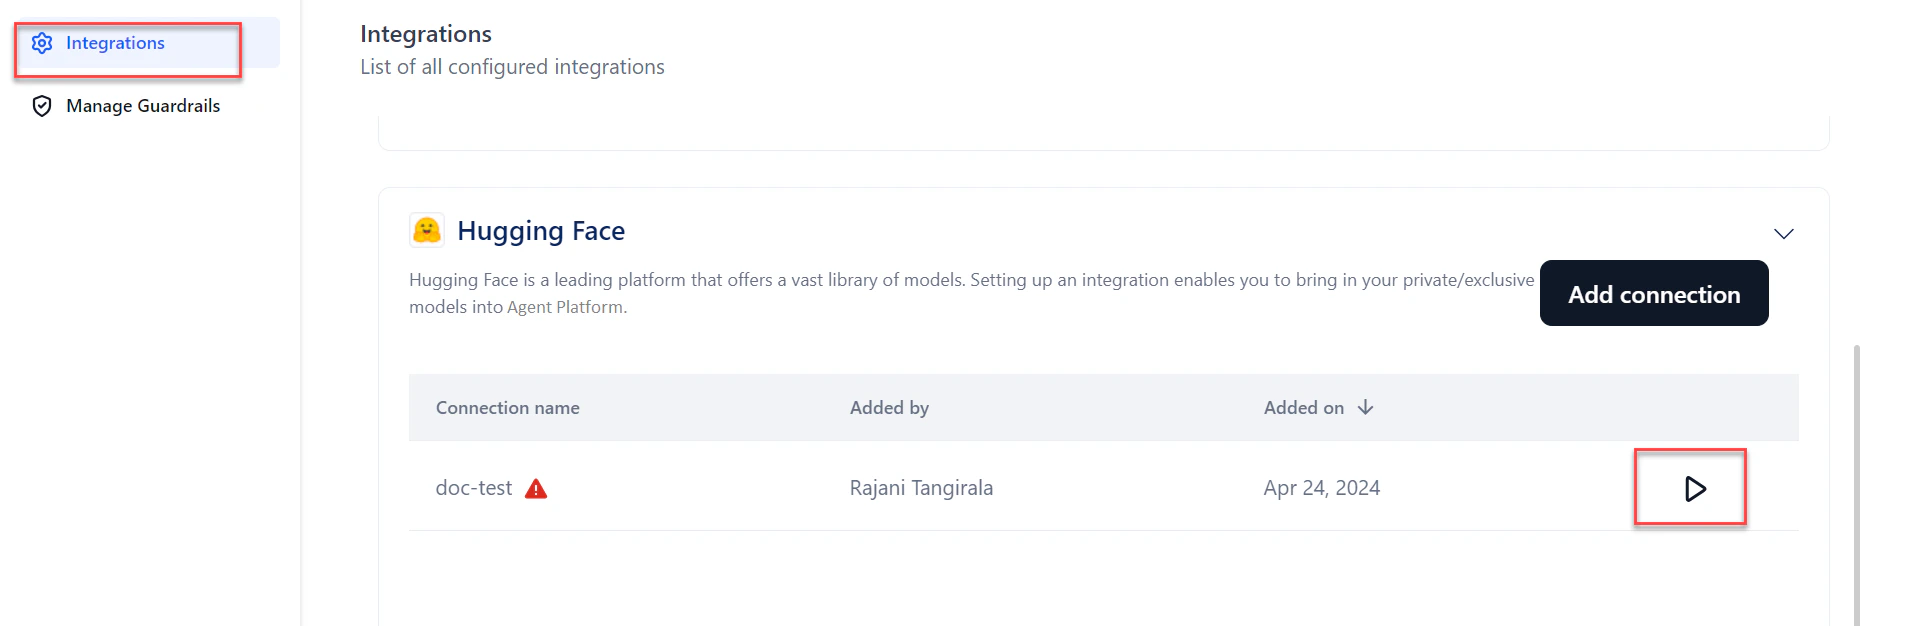
From the connections list, click the Play button to re-test the connection at any time.
-
To edit or delete the connection, hover over the connection name and click the three dots icon.
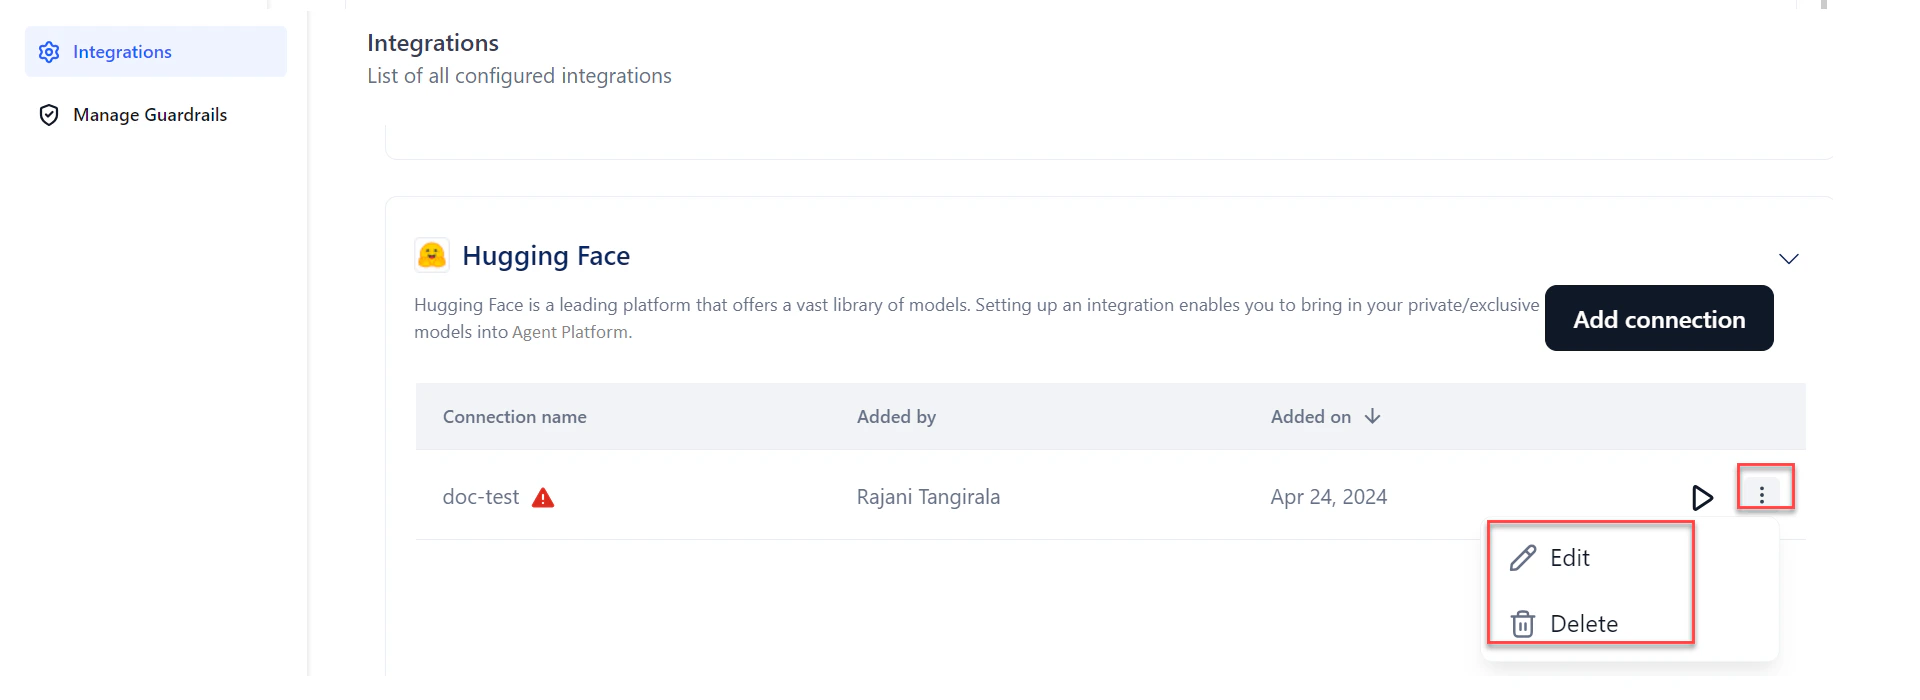
- Once the connection is set up, the connection name appears in the dropdown when selecting and deploying an open-source model.
- If you delete a Hugging Face connection used for a model’s deployment, the system prompts you to select a new connection on redeployment.
Integrate with AWS S3 Bucket
Connecting to AWS S3 lets you import files from your S3 bucket and use them in AI for Process workflows.- In AI for Process, click Settings in the top menu.
- Click Integrations in the left menu.
-
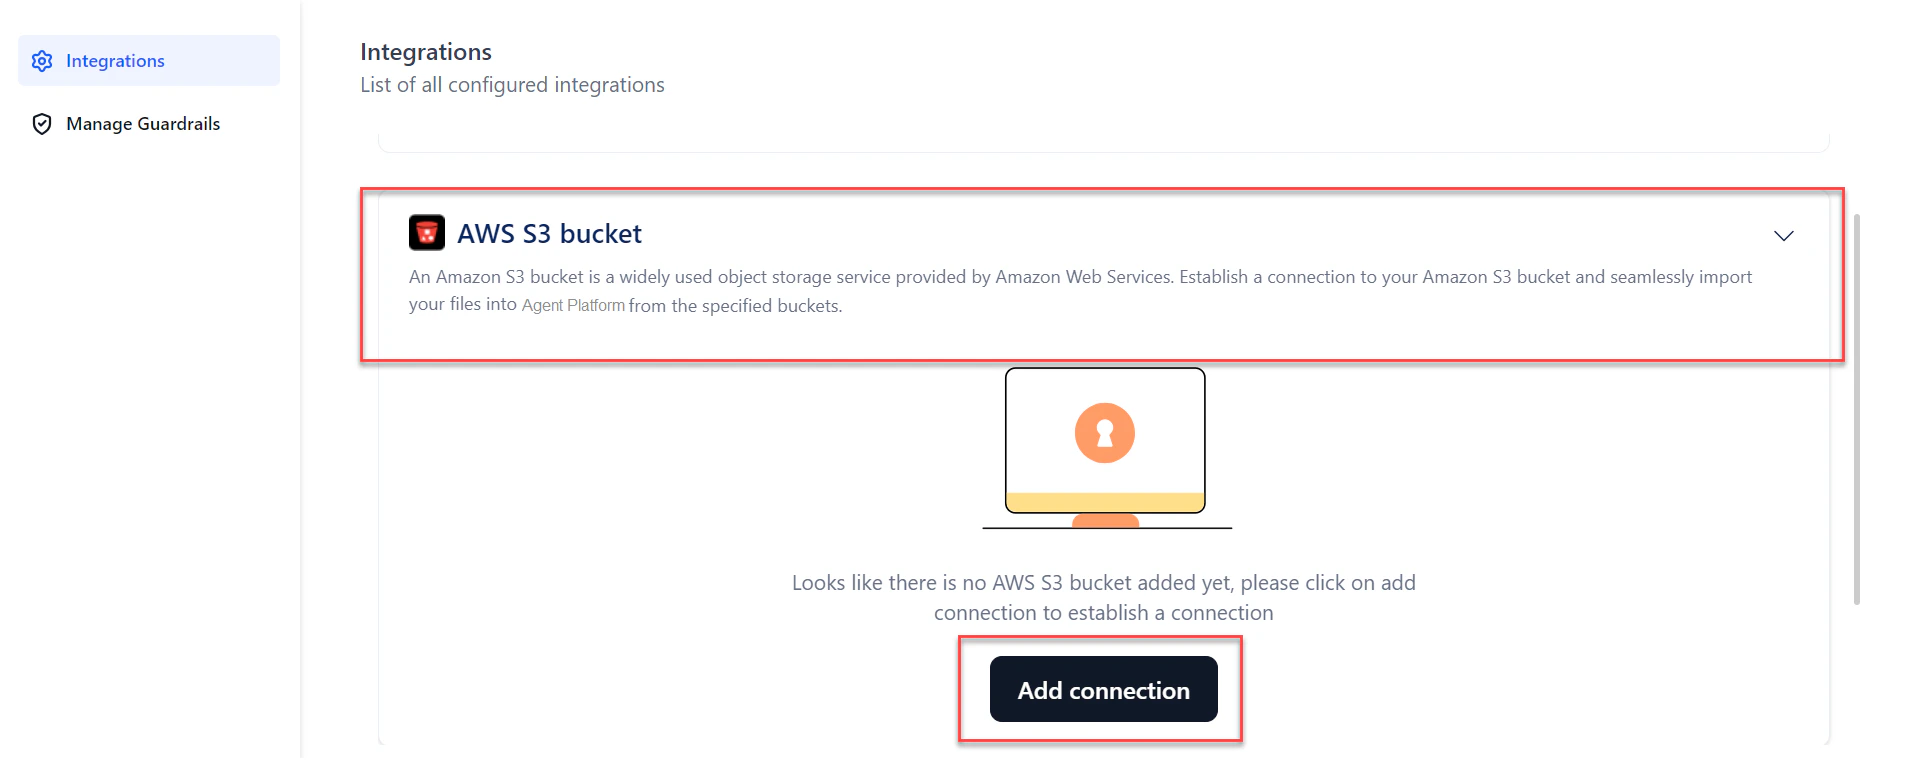
Click AWS S3 bucket from the integrations list. The section expands.
-
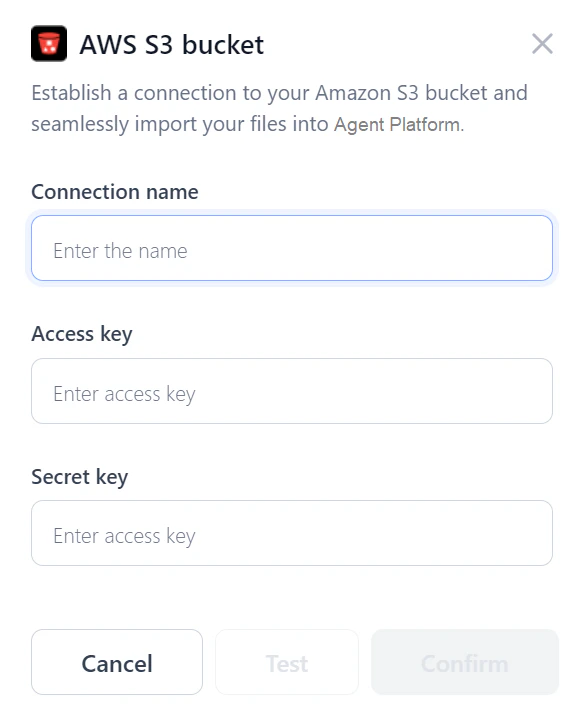
Click Add connection. The AWS S3 bucket dialog opens.
-
Enter the following details:
- Connection name: A unique name for the connection.
- Access key: The unique identifier for your AWS account.
- Secret key: The confidential key paired with the Access Key ID.
- Bucket name: The bucket name configured in the S3 console.
-
Click Test to verify the connection.
- If the connection succeeds, click Confirm to complete the setup.
- If the connection fails, verify the credentials or cancel the setup.
- From the connections list, click the Play button to re-test the connection at any time.
Use S3 Files in the Workflow Builder
Once the S3 connection is set up, you can use the imported files in the Workflow Builder canvas:- Create an Input variable with type Remote File.
- Add an API node and point to the remote file using the URL field.