Specifications
Setting up the Google Drive connector involves two steps:
- Set up and enable access to Google Drive cloud storage.
- Configure the Google Drive connector in Search AI.
Step 1: Set Up Google Drive Access
- Sign in to the Google Cloud Console and create a Google Cloud project. Skip this step if using an existing project.
- Find the Google Drive API and enable it in your Google Cloud project.
- Configure OAuth consent to enable OAuth 2.0 authentication.
- In the Google Cloud console, go to Menu > Google Auth Platform > Branding. Provide the application name, email address, app logo, and developer contact information.
- Add the Search AI domain to Authorized domains.
-
Under Data Access, click Add or remove scopes and select the following Google Drive API scopes. Click Update.
.../auth/drive.file.../auth/drive.appdata.../auth/drive
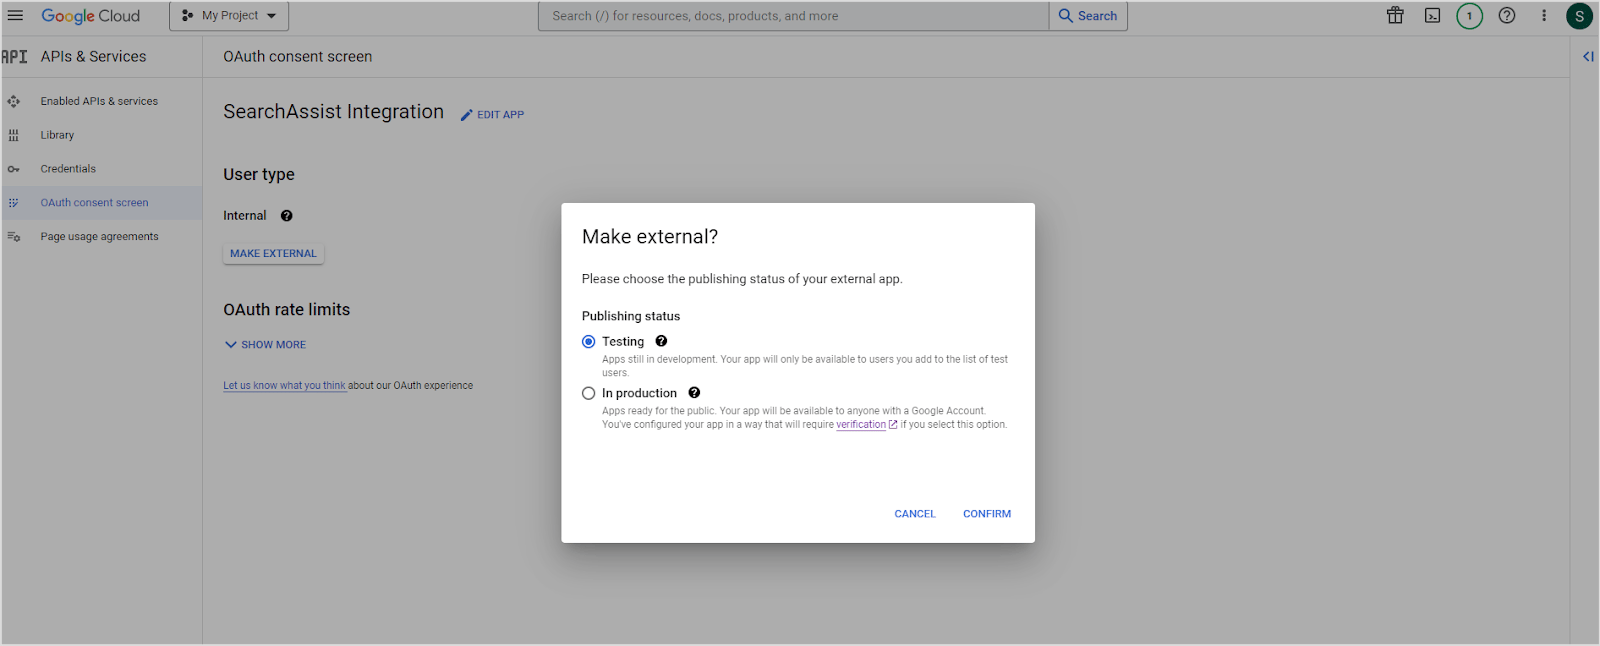
- Go to the Audience page and set the user type to External.
-
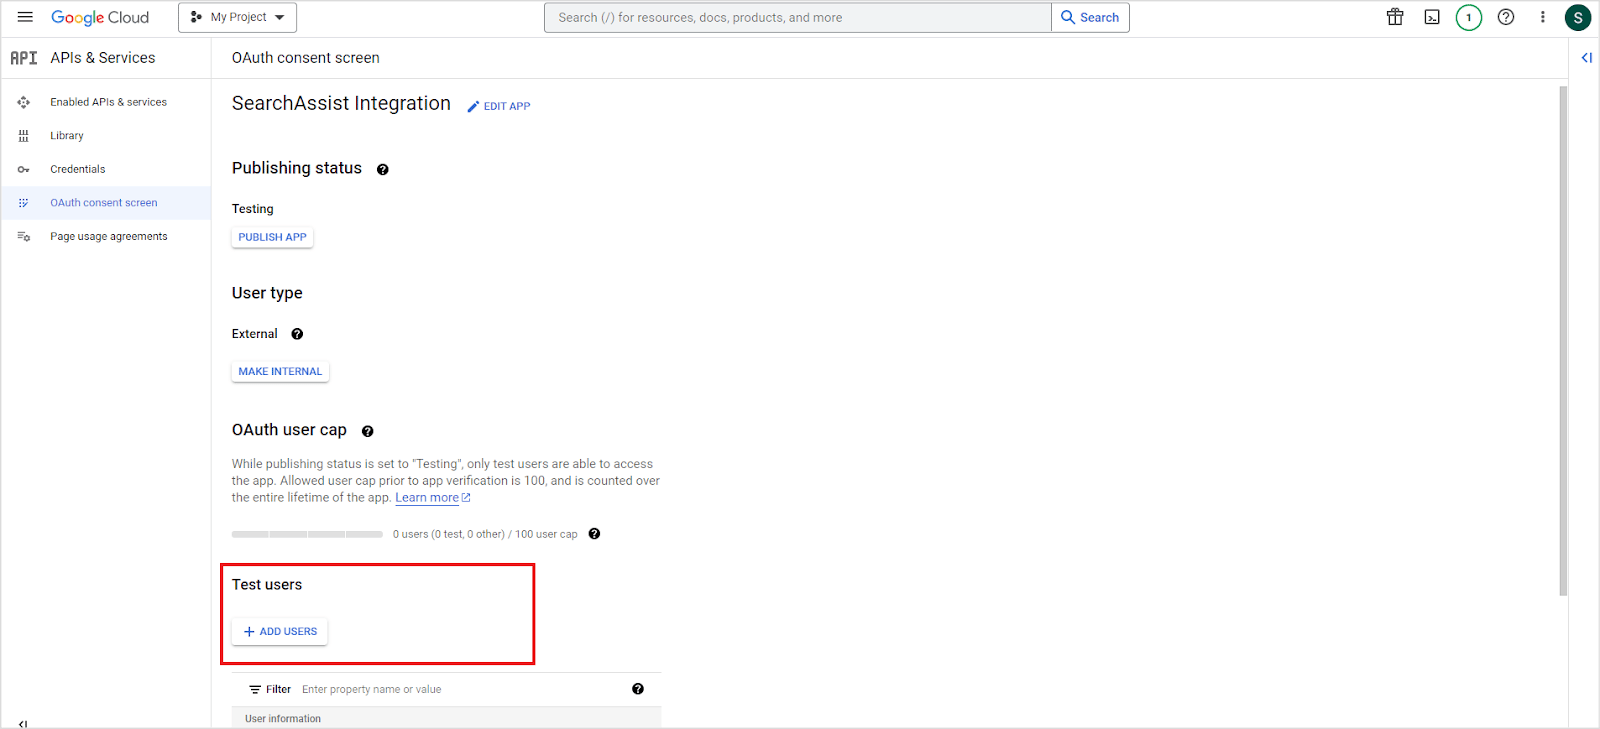
Set the publishing status. In Testing mode, only added test users can access the app. In Production mode, the app is available to all Google account users.
-
Navigate to the Clients page and create a new client. Set Application type to Web Application, give it a name, and add one of the following as the Authorized redirect URI based on your region:
- JP Region:
https://jp-bots-idp.kore.ai/workflows/callback - DE Region:
https://de-bots-idp.kore.ai/workflows/callback - Prod:
https://idp.kore.com/workflows/callback
- JP Region:
- Click Create. Download the generated credentials file (JSON format), which contains the client ID and client secret.
Step 2: Configure the Google Drive Connector in Search AI
- Go to Content > Connectors and select Google Drive.
-
Configure the authorization parameters:
- Click Connect to establish the connection.
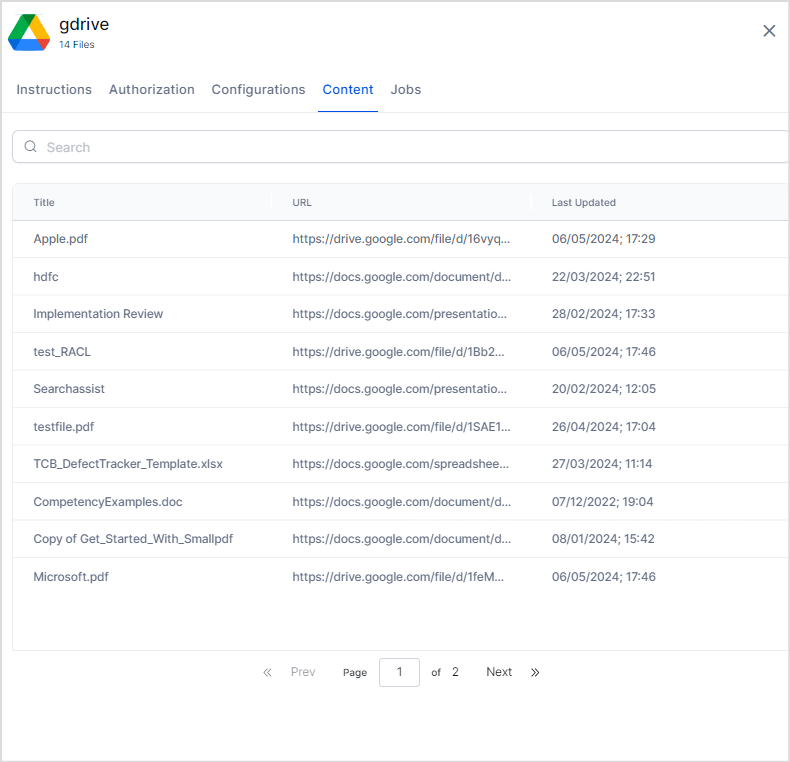
Content Ingestion
On the Configurations tab, configure the following synchronization settings: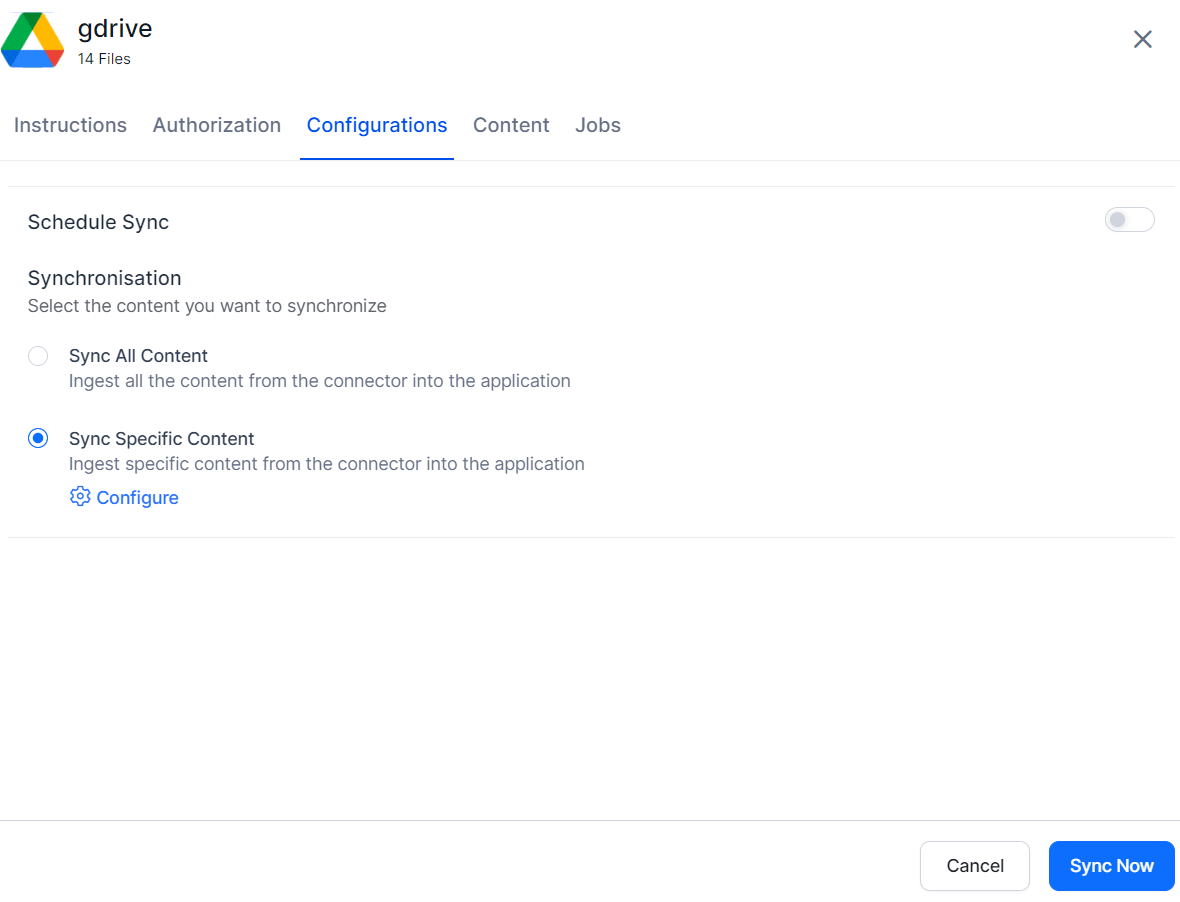
Content Filtering Rules
Each filter rule specifies a drive location and one or more conditions. Drive Location
Conditions
Define conditions using a parameter, operator, and value. Supported parameters:
You can also add custom query parameters. Refer to Google Drive API search terms for the full list of supported parameters and values.
Multiple rules and conditions
-
Add multiple rules to a filter. For example, include all files from a specific folder and all files containing a keyword in the filename.
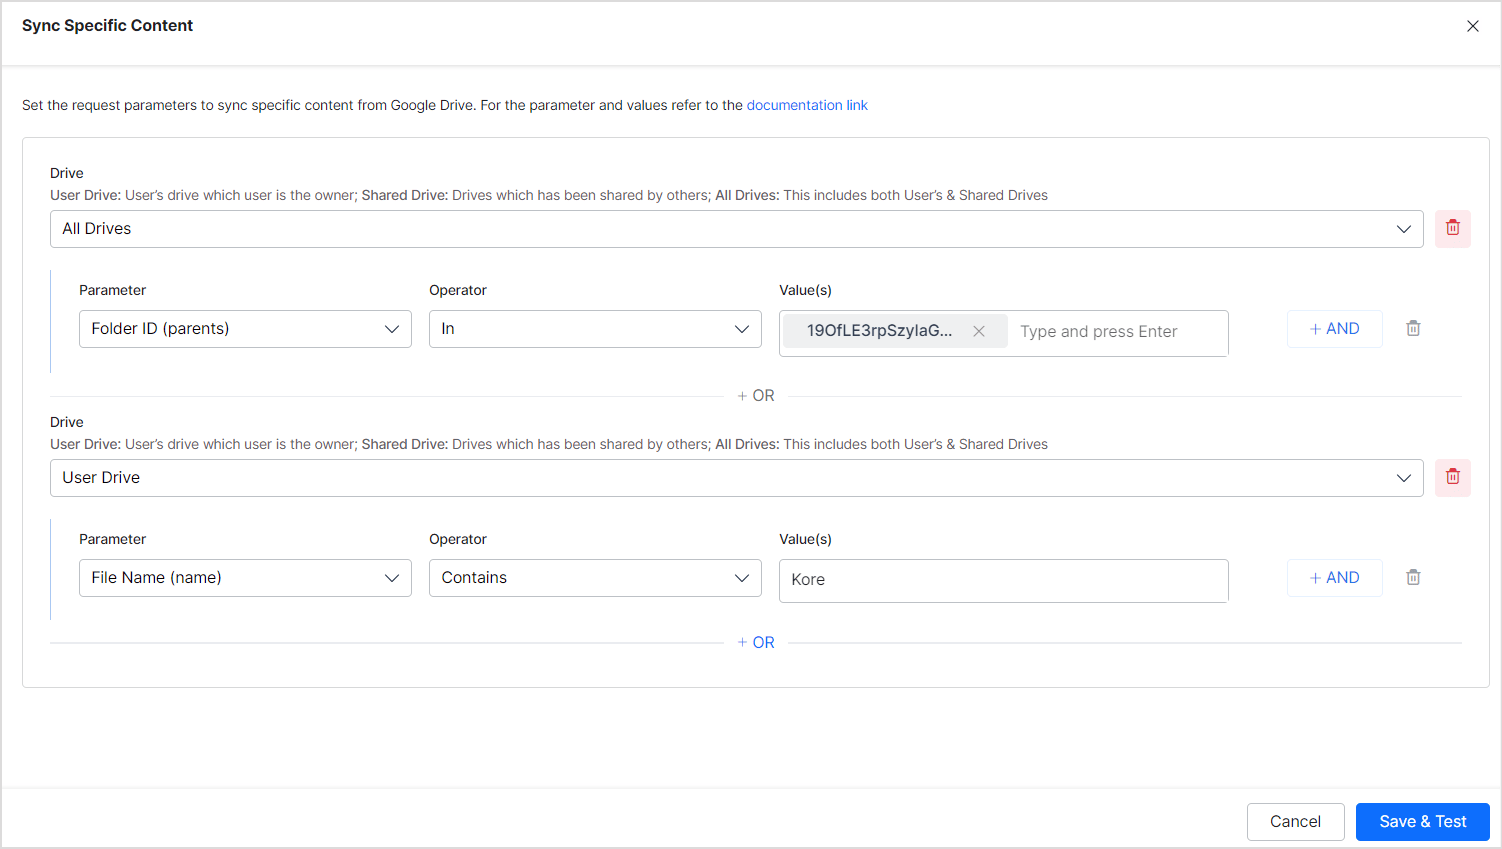
-
Add multiple conditions to a single rule to narrow results. For example, ingest only PDF files from a specific folder.
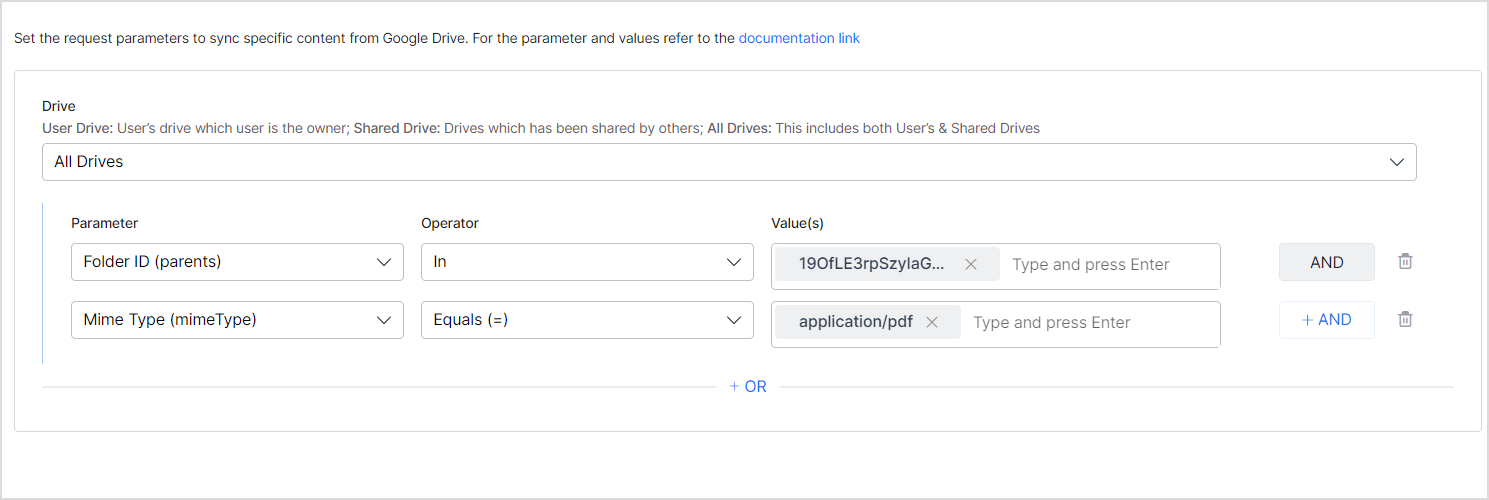
Access Control
The Google Drive connector imports file permissions and access lists from Google Drive along with content, so Search AI returns answers only for files the requesting user can access.File Permission Types
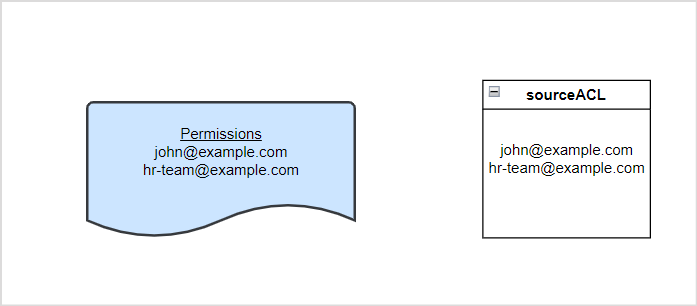
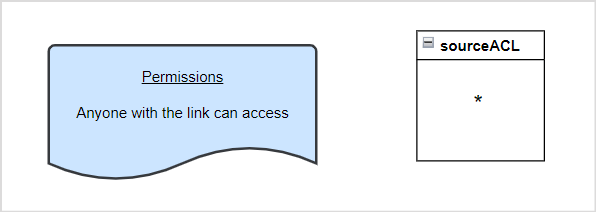
Search AI supports file-level permissions. The following access types are handled: People with access Search AI reads user information from each file. Any user with view or read access can access answers generated from that file. Example — two users with read access: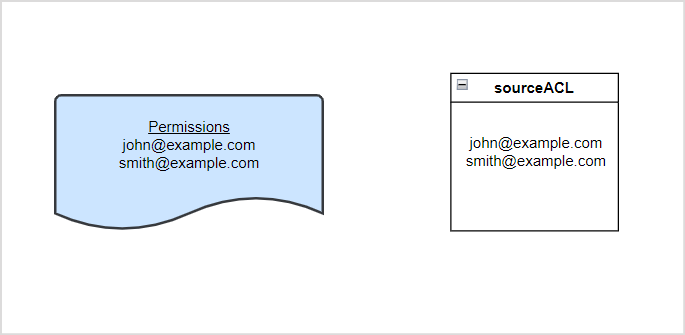
hr-team@example.com is the permission entity for the group):
User Groups and Domain-Level Access
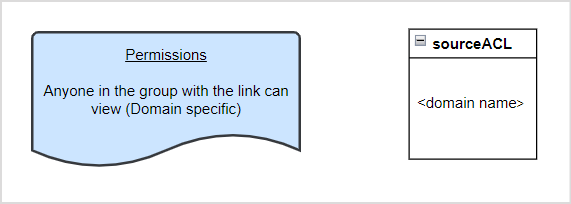
When a file is shared with a user group or domain, the group or domain name is stored as a permission entity in Search AI. You must associate individual users with that permission entity to grant them access. Use the Permission Entity API to add user IDs to the corresponding permission entity. Example: A file is shared withhr-domain@example.com. This group is stored as a permission entity. To give the five HR team members access, use the Permission Entity API to add their user IDs to this permission entity.
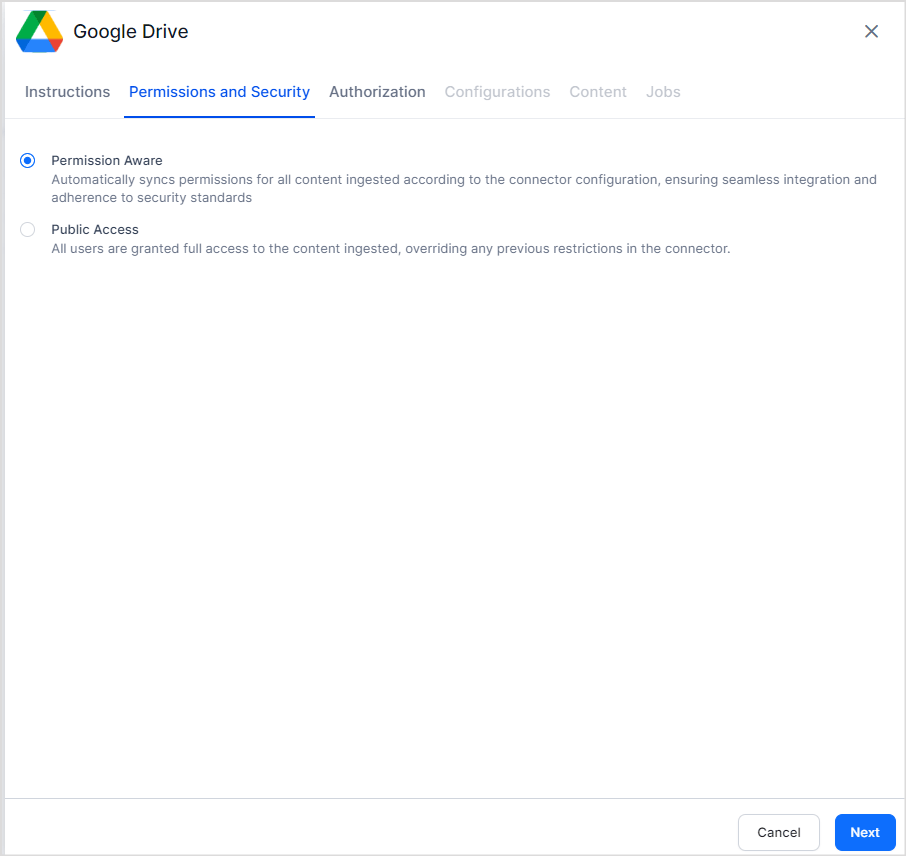
Enabling or Disabling RACL
Configure access control on the Permissions and Security tab:
You can configure this setting during initial connector setup or update it at any time on the Permissions & Security tab. Updated permissions apply to content ingested during the next sync.