

Configuring Kerberos SPNEGO Authorization
- Open the AI Agent for which you want to configure the Authorization profile.
- Select the Build tab from the top menu.
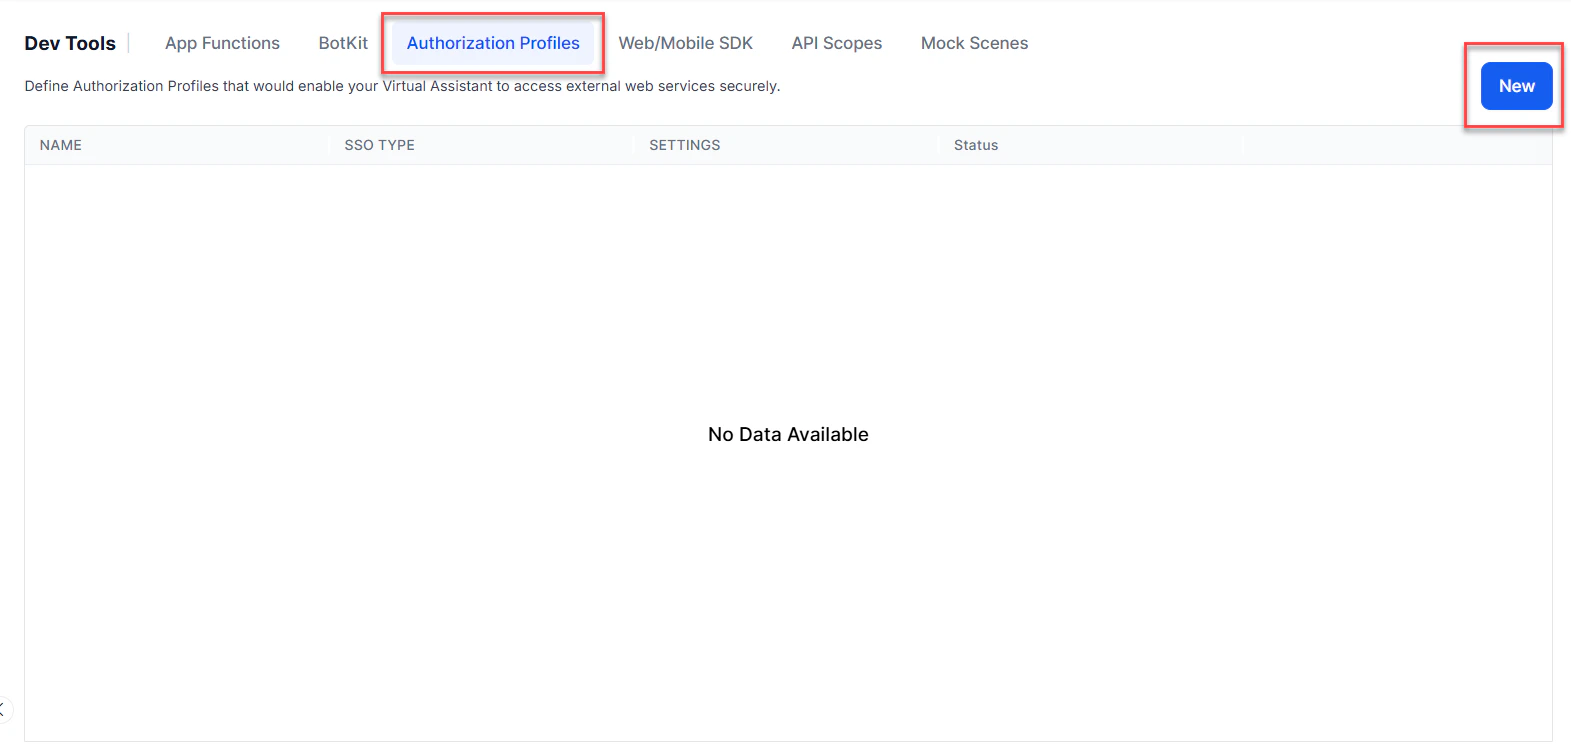
- From the left-side vertical menus, click Configurations > Authorization Profiles.
-
Click New to open the New Authorization Mechanism dialog.
-
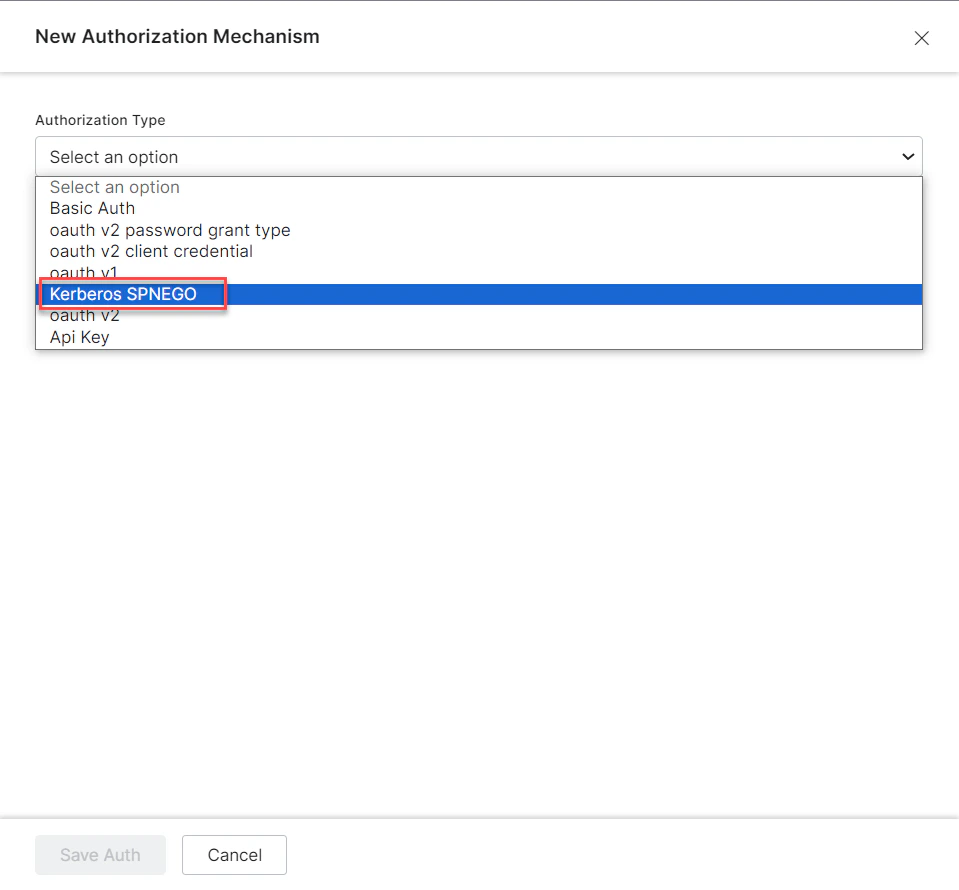
In the Authorization Type drop-down list, select the Kerberos-SPNEGO option.
-
In the Name field, enter a name for the authorization type.
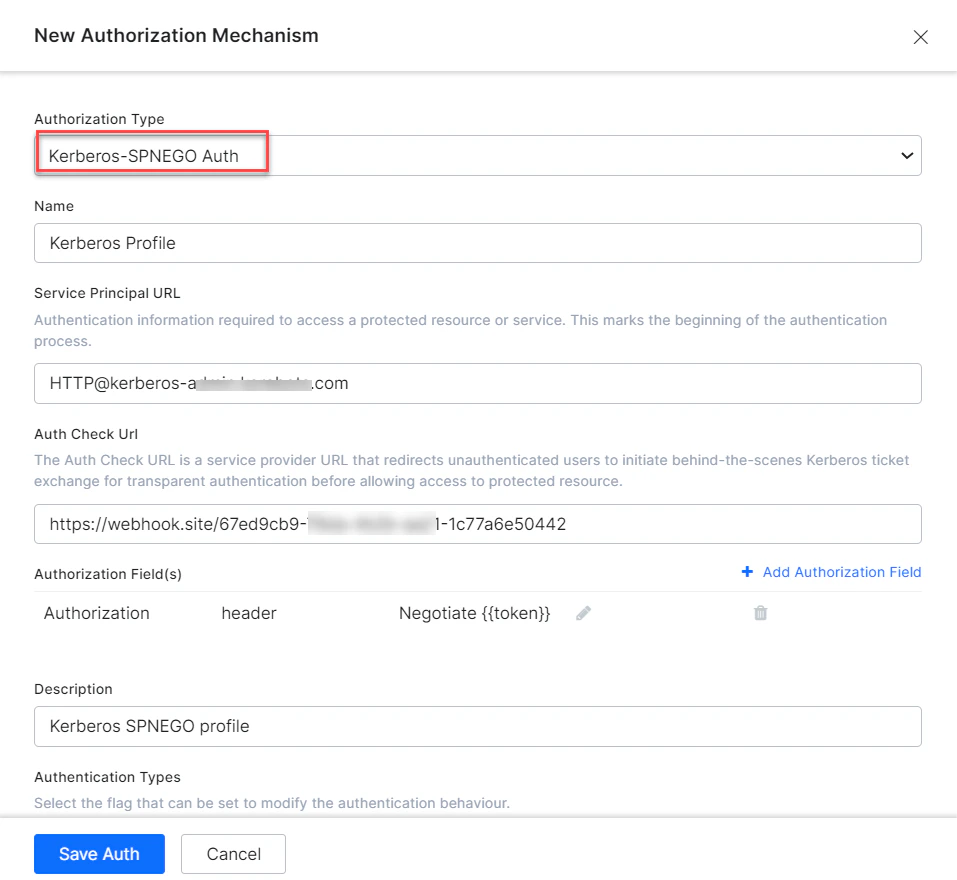
- Define the required Kerberos Authorization fields. For more information, see the Defining Authorization Fields section.
- (Optional) Click + Add Authorization Field to add additional fields for Kerberos authorization. For more information, see the Adding Authorization Fields section.
-
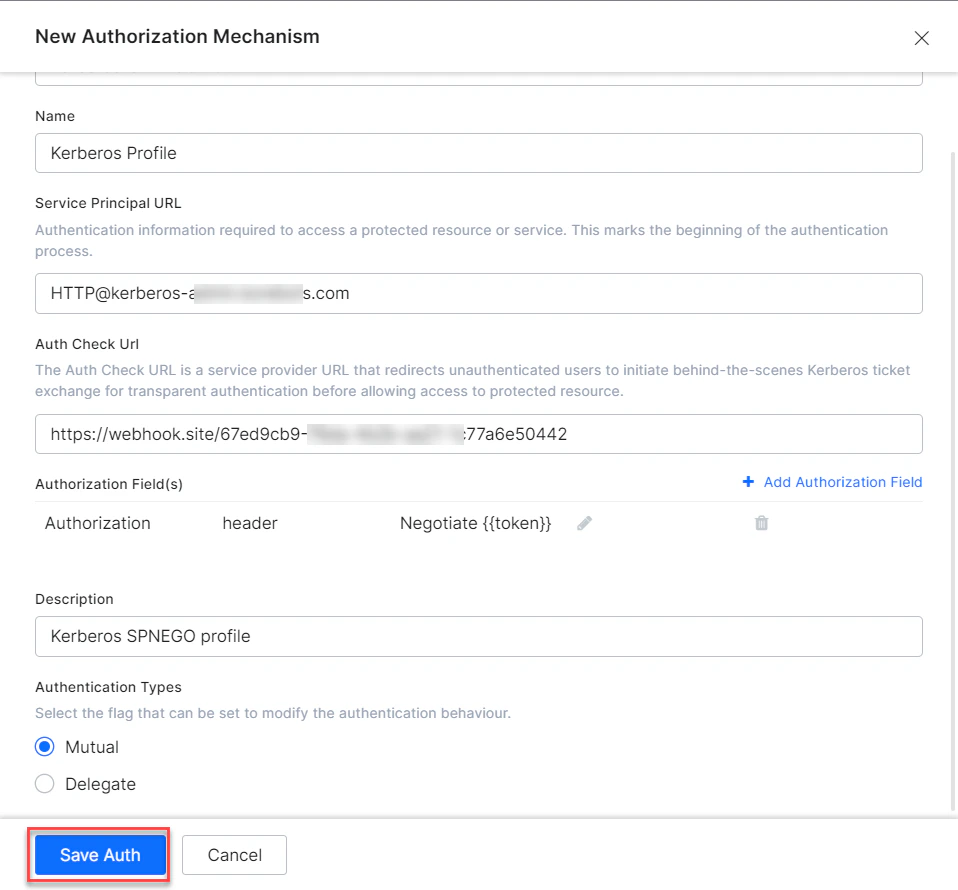
Click Save Auth.
Defining Authorization Fields
To configure the Kerberos SPNEGO authorization profile, define the fields described in the following table.
For more information, see Using Session and Context Variables.
Adding Authorization Fields
Click + Add Authorization Field and enter one or more key/value pairs representing additional authorization input fields. If the default username and password fields don’t meet your authorization input needs, add custom fields as key/value pairs displayed to the end-user. For example, add a PIN code field in addition to the Username and Password fields.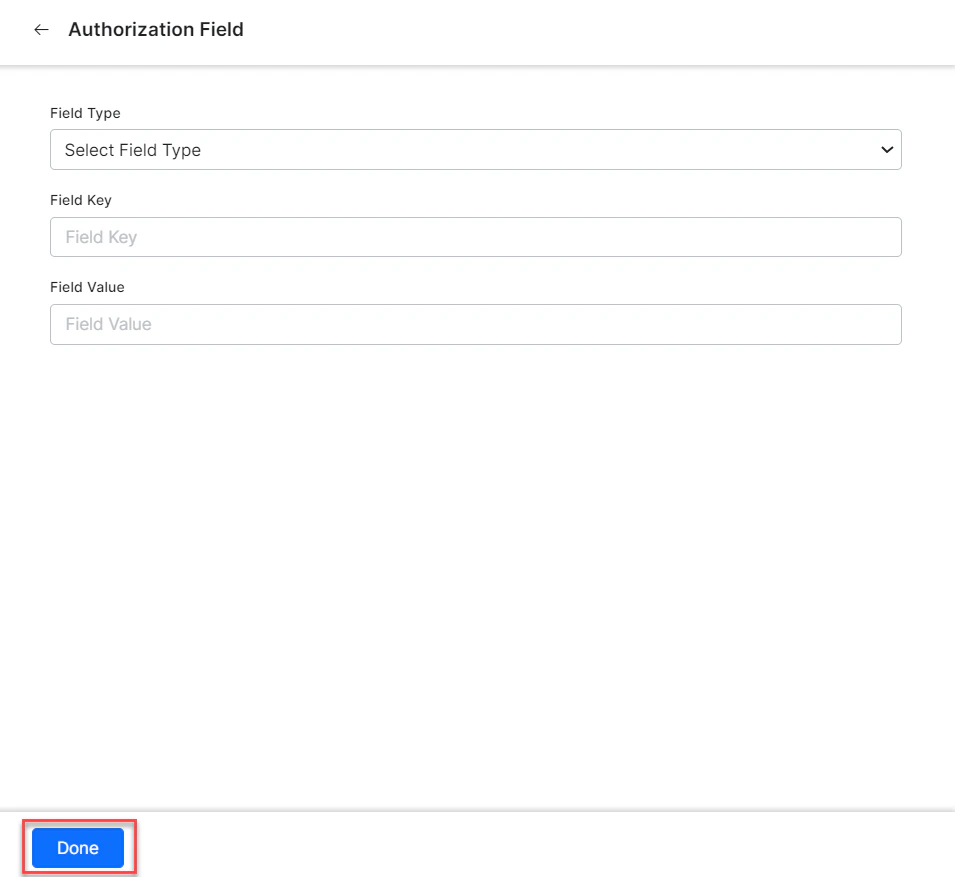
- Field Type - The type of the custom field:
Header,Payload,Query String, orPath Param. - Field Key - The name of the custom field.
- Value - The value of the custom field.
Testing the Authorization
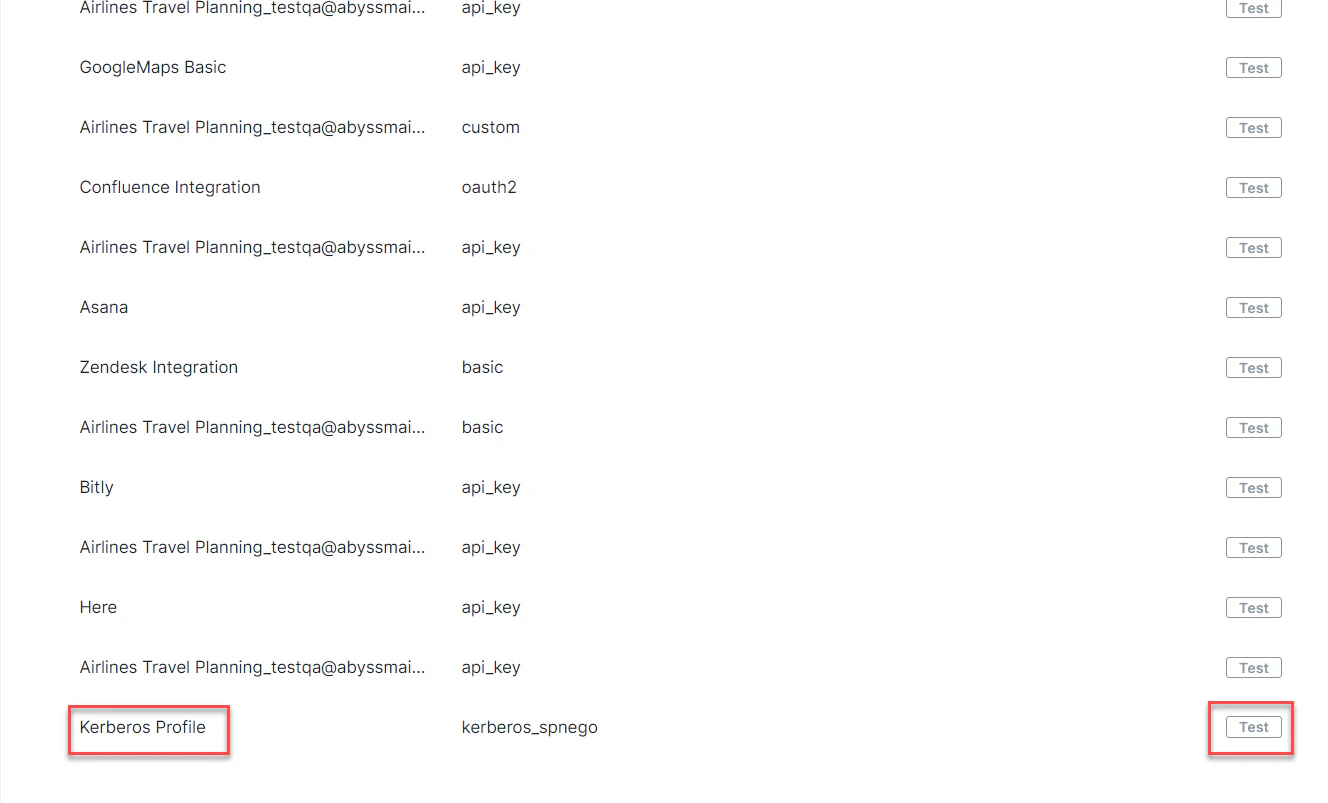
After saving the authentication, test your authorization definition on the Authentication page by clicking Test before continuing to develop the remaining steps of your task.-
Click the Test button in the Kerberos Auth Profile row to begin the authorization test.
-
In the Test Authorization window, select the Content-Type and Method field values, then click Test.
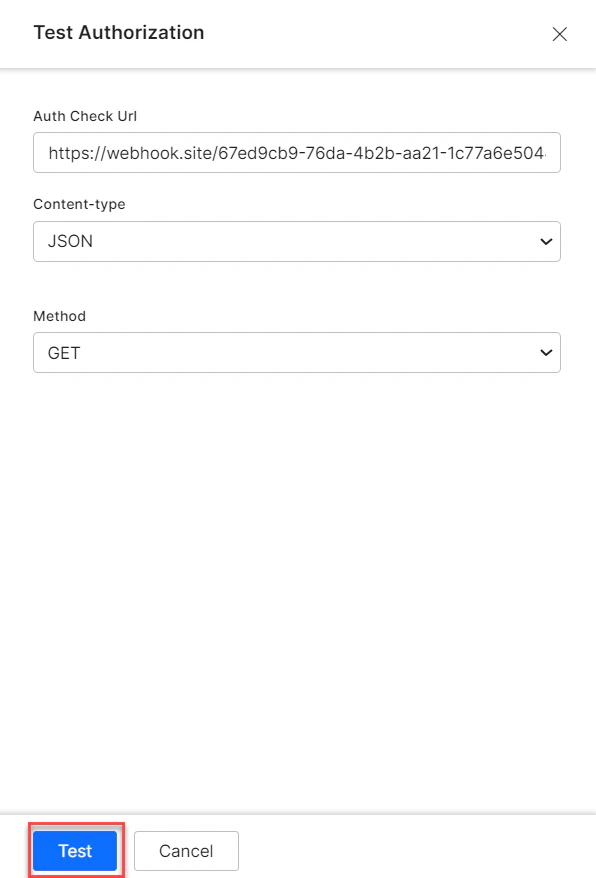
- When validation completes, the Test Authorization dialog closes and the results — either success or failure — are displayed to the right of the Test Authorization button. If the authorization fails, the Auth Test Failed message is displayed along with the Headers and Response tabs.